Press
This also ended up getting picked up by Vice, Hackaday, Techspot, as well as a whole bunch of other publications! Thank you so much for your interest in my work 💖
I shared this on Twitter recently, and have had a bunch of people ask me for more details - so here they are!
Just a heads up that this is pretty image-heavy, in case you’re on a limited data plan.
I’ve always been the sort of person who struggles to do anything without some sort of music going on in the background. A long time ago this was with a little mp3 player, then an iPod, and eventually on to a phone with Spotify.
I realised something not so long ago - I was being very lazy. I’d often just play my weekly/daily mix, or some playlist I made up a long time ago. I’d never really think about what music I liked + what music I wanted to listen to. I think this is in part due to the fact that almost any music was available - which made choosing even more difficult. Anyway. Over the weekend I took apart a 5.5th gen iPod Classic (or iPod Video) and made it suit 2022 a little better :D
I won’t be detailing precisely how I did it. I mostly followed iFixit, and fumbled my way through the rest. Almost all of the cables can be removed by lifting a little black lever, and are equally as easy to replace. I’d recommend ordering some iPod tools :)
The iPod
I went with a 5.5 for a few reasons. Firstly, the front is plastic. I was going to be replacing the front anyway, so it might as well be easy to open!
Secondly, and most importantly - the DAC. This generation of iPod was the last to feature the “wolfson DAC”, which is very well known for being of fantastic quality.
Something else to be aware of is that different models of this iPod had different amounts of memory. The 80GB has 64mb of memory, while smaller capacities have only 32mb. I went with the 80GB :)
The components
I ordered a bunch of components for this, as I knew pretty much exactly what I wanted. The vast majority of them were found on eBay, where there is a LOT of choice. If there’s anything specific, I’ll link it
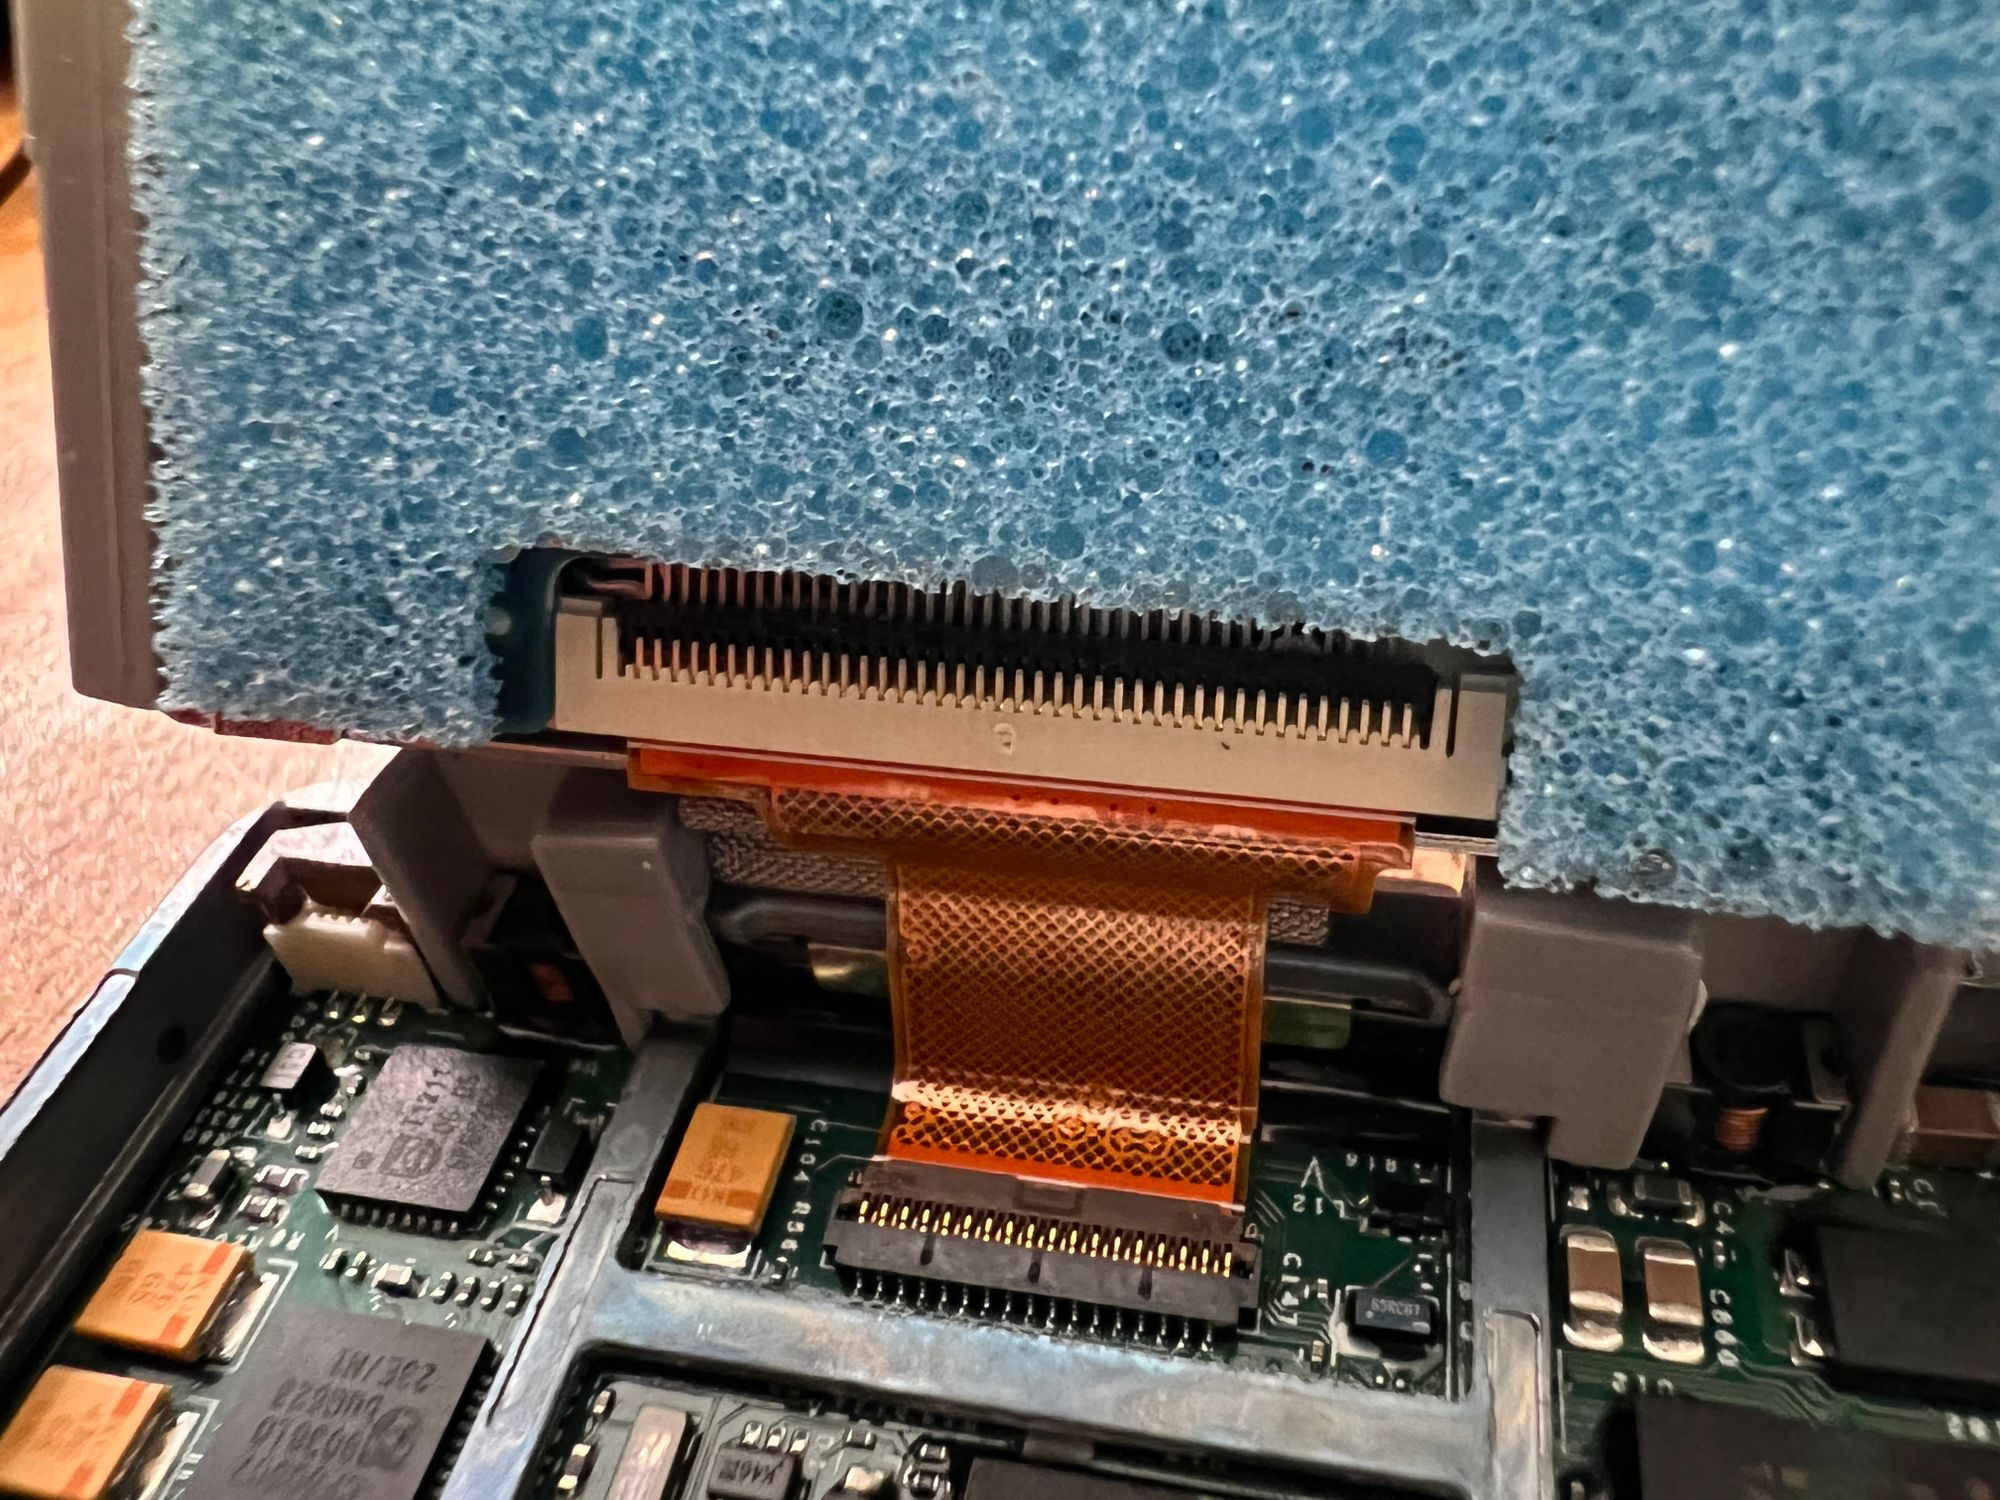
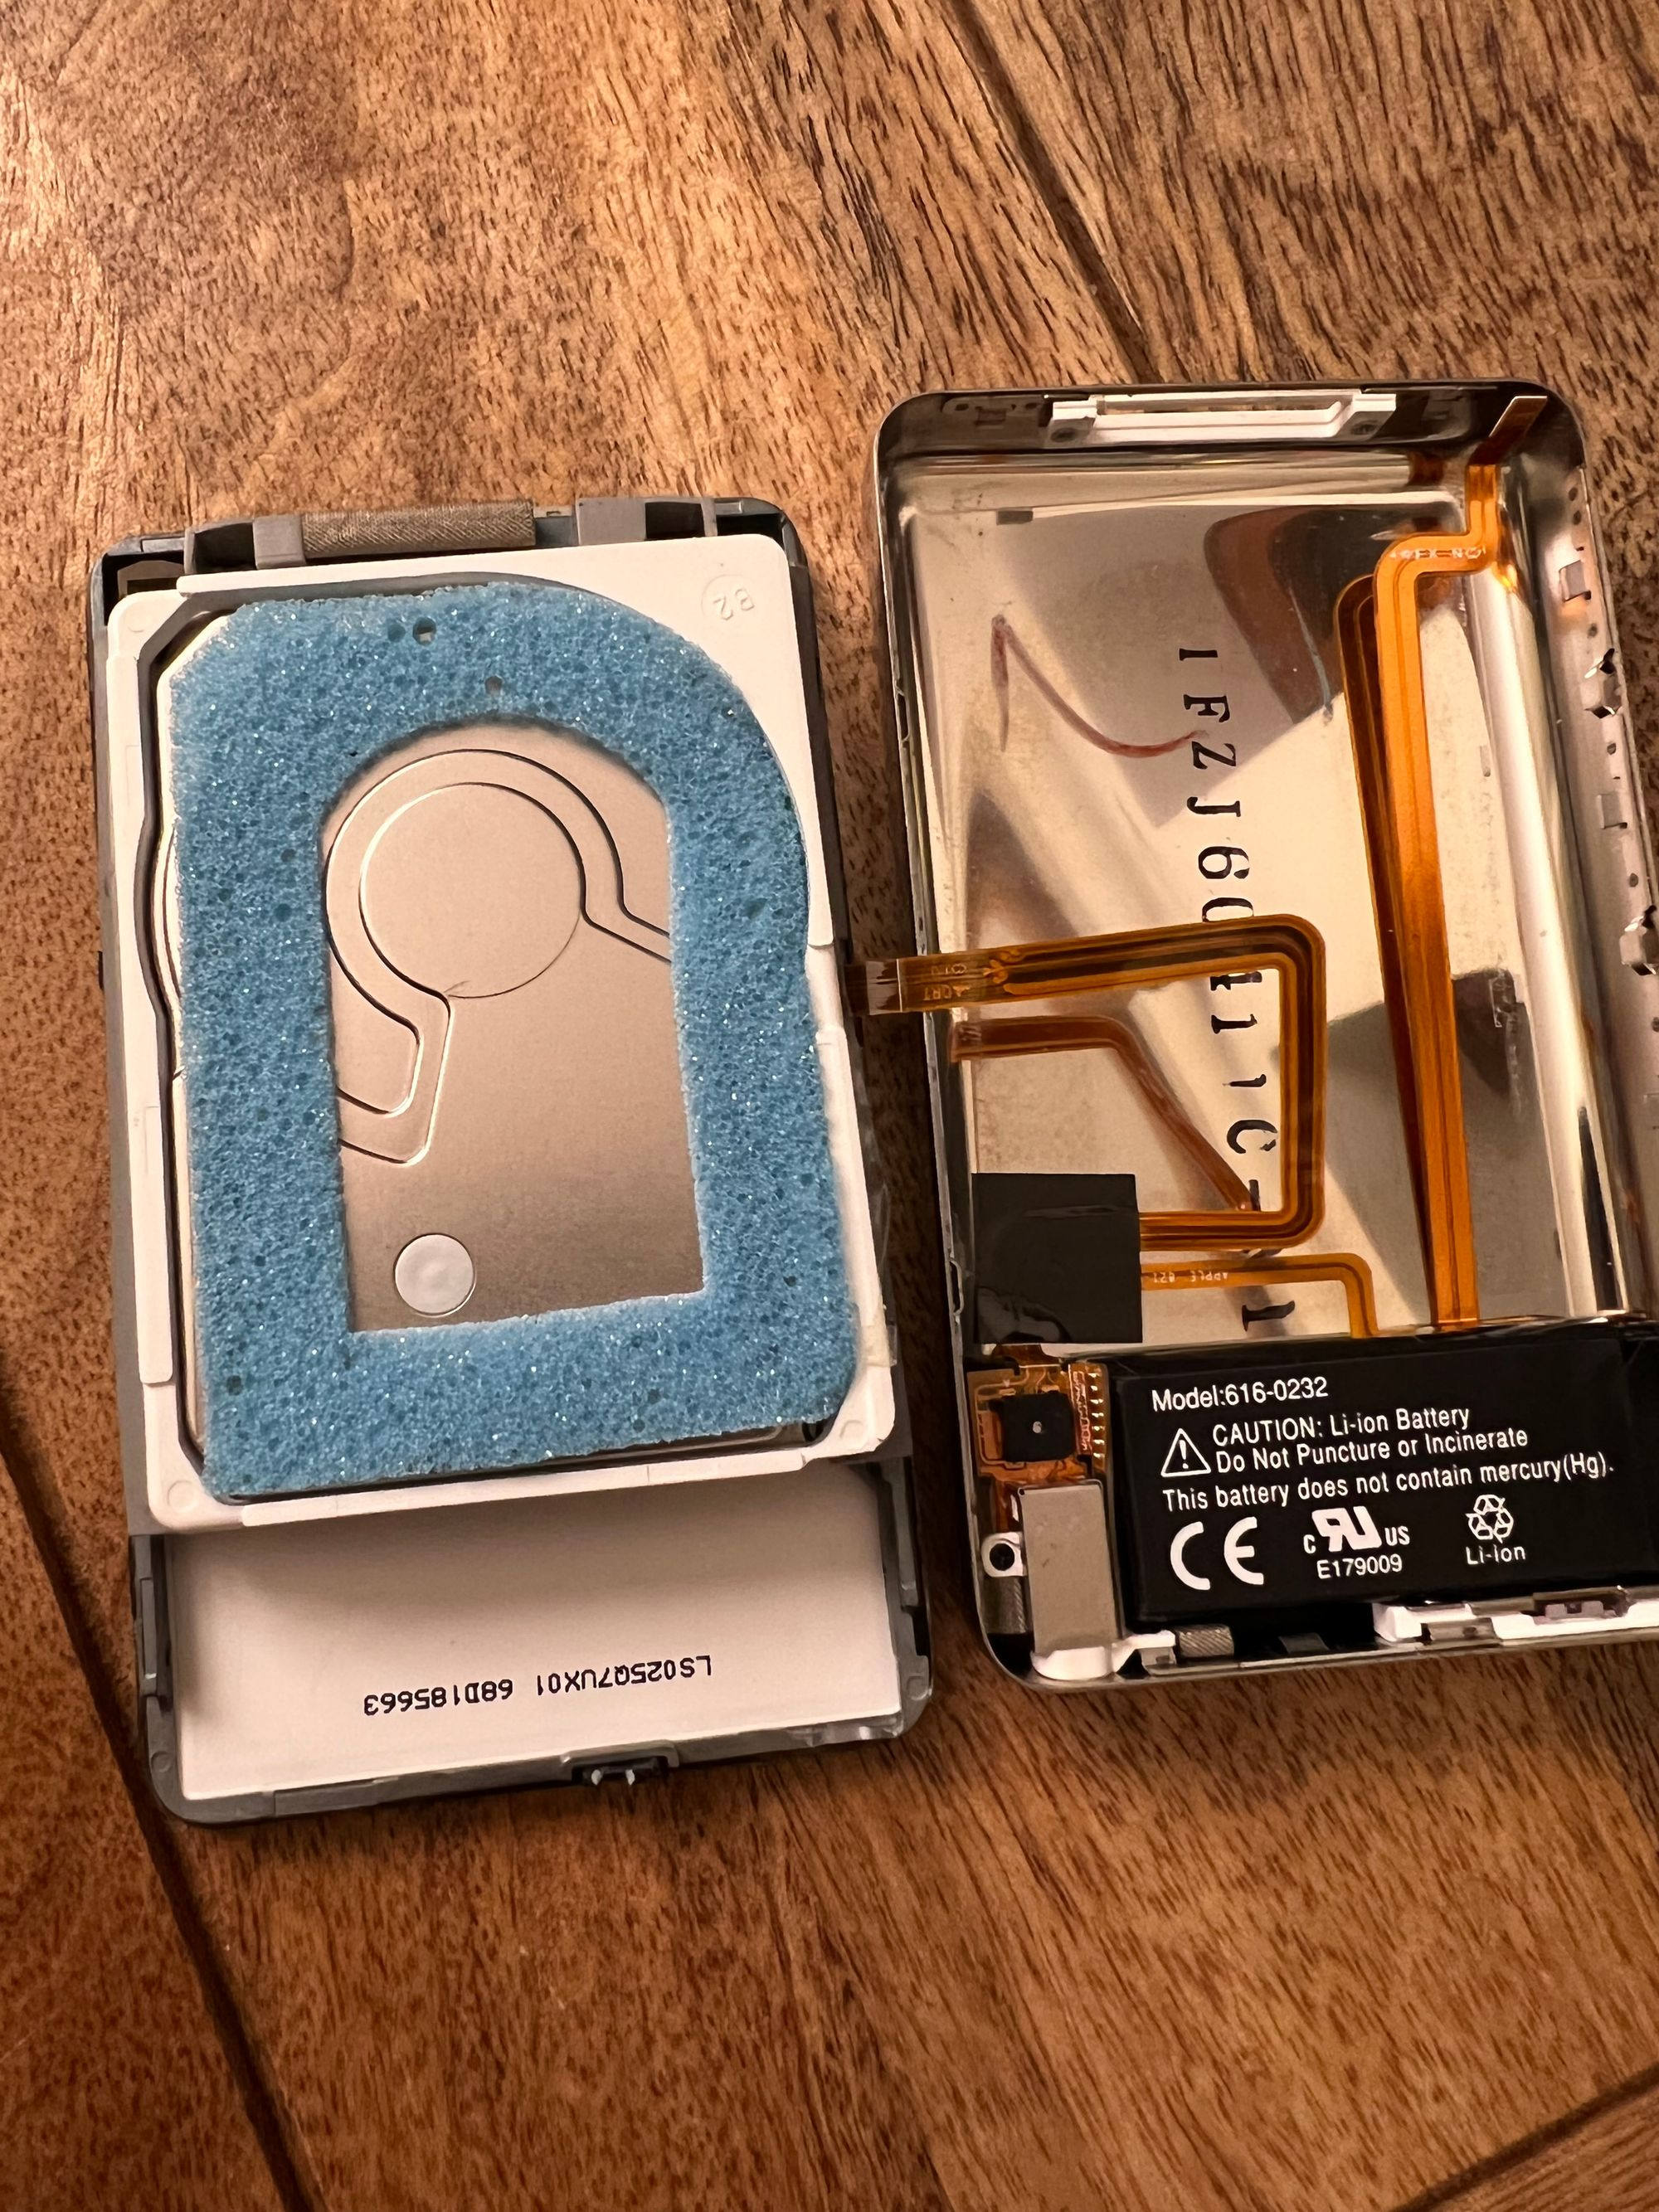
Opening
Opening the iPod was made fairly simple with the iPod tools. After working my way around the casing, it just popped open. iFixit had good instructions there!
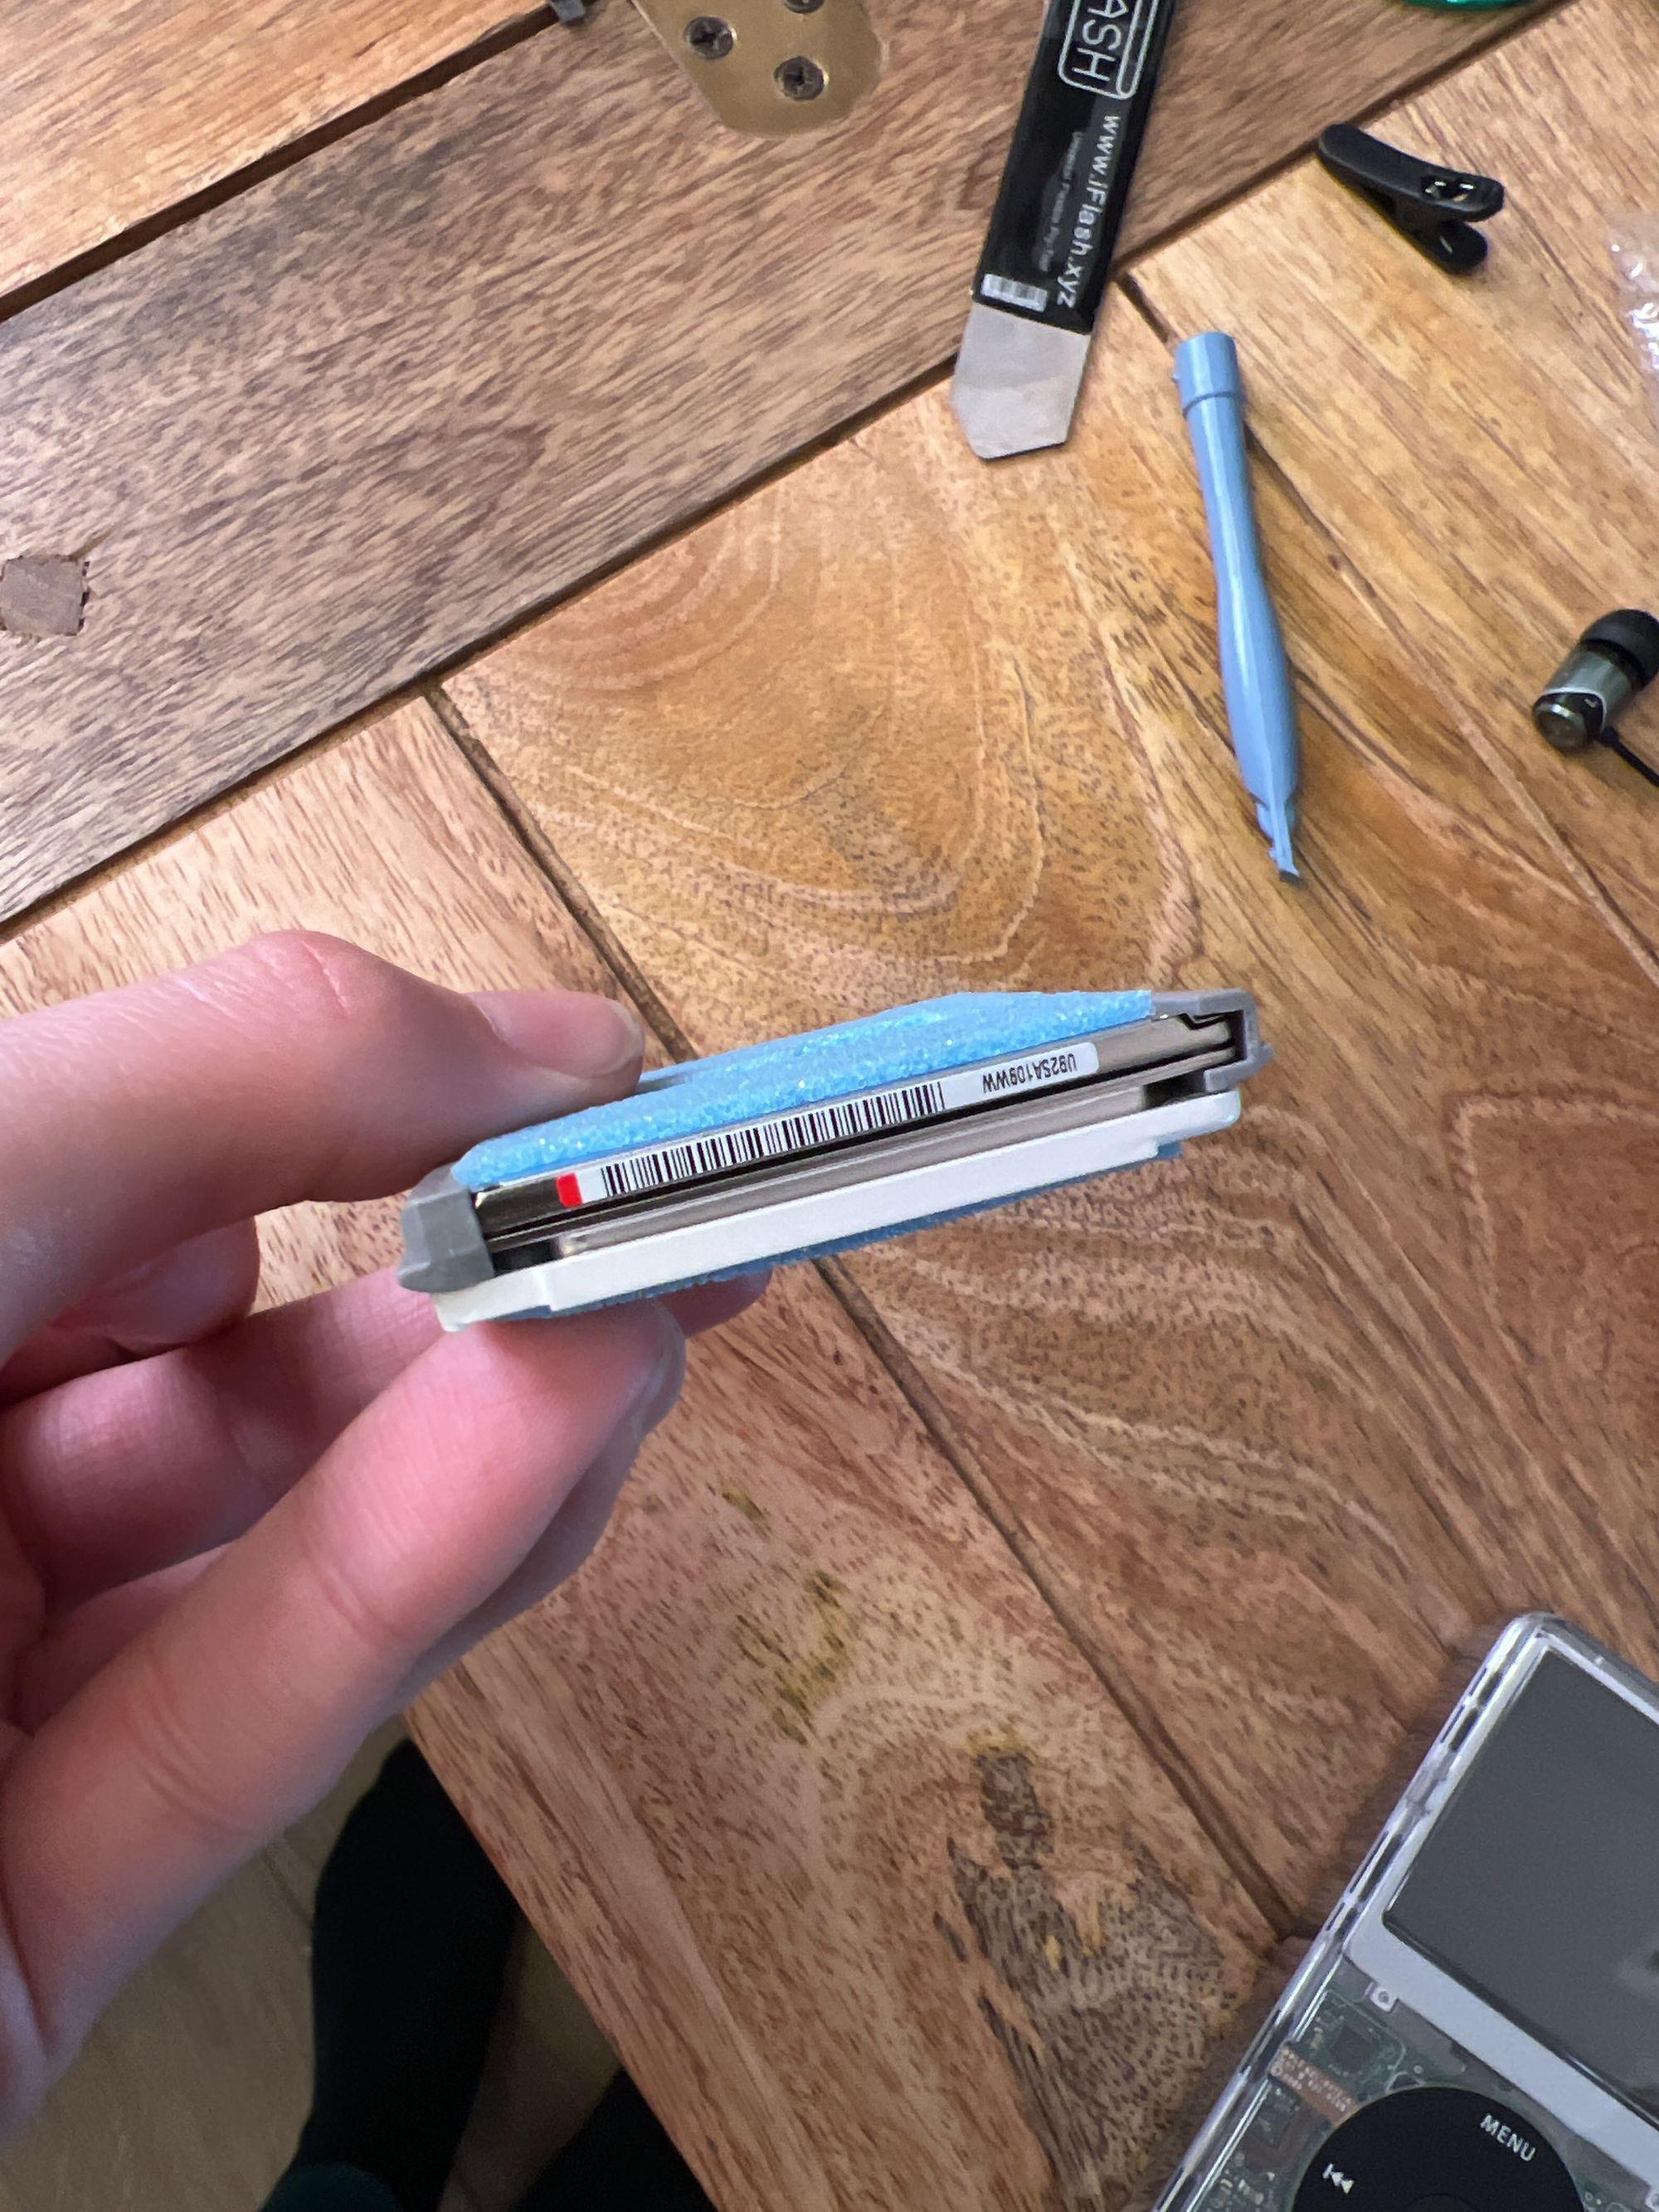
Storage
First and foremost, storage. 80GB is definitely not enough for what I want. The original iPod also used a HDD - ideally I’d be swapping this out for something solid state.
There’s a lot of choice here, but I went with an iFlash Quad. This lets you use up to four SD cards! There’s no real performance difference here compared to other storage options, as it’s pretty limited regardless. In addition, SD cards use less power + put out less heat than the comparable SSDs.
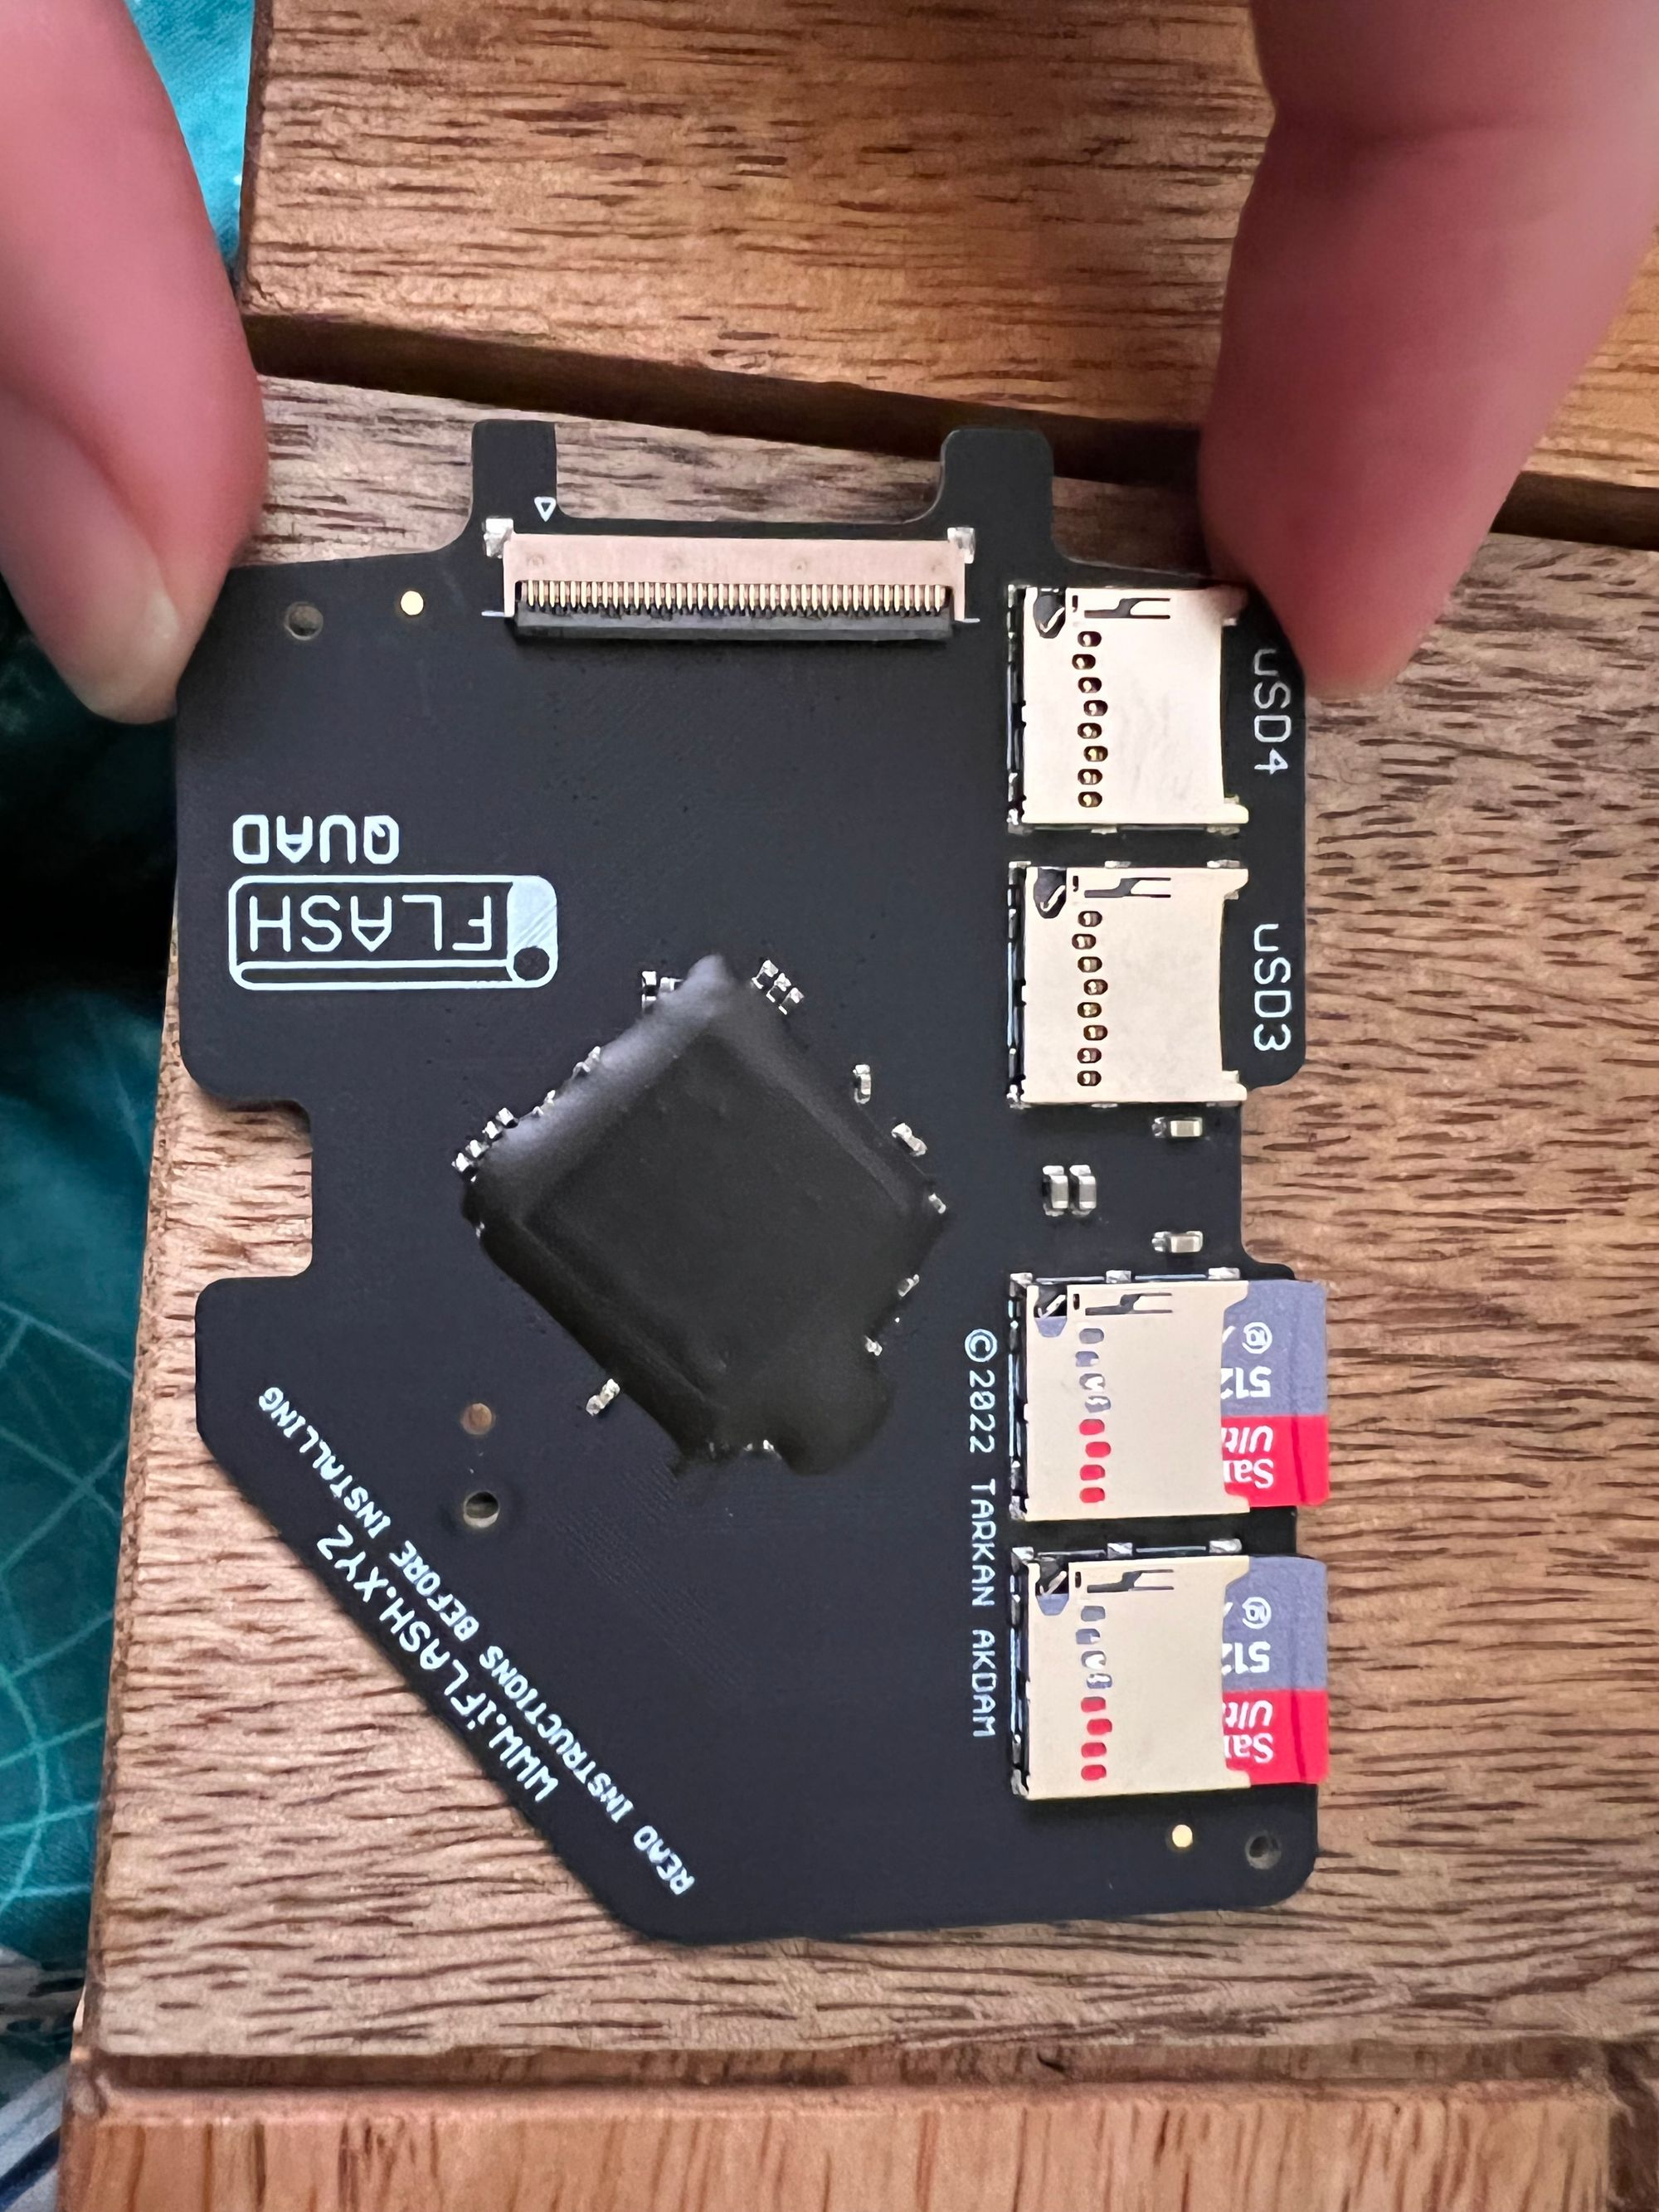
This is also thinner than the HDD, allowing you to fit a larger battery or other mods into the chassis.
Something to be aware of is that the original iPod firmware can struggle with the larger capacity drives, so you will probably need something like Rockbox. Bear in mind that Rockbox can have issues with the iFlash hardware, so you may need to run a daily build (or transfer your music while booted into the original firmware)
Battery
You can find a LOT of batteries on eBay and other places online, so I won’t really say much about that here. I went with a 3000mah :)
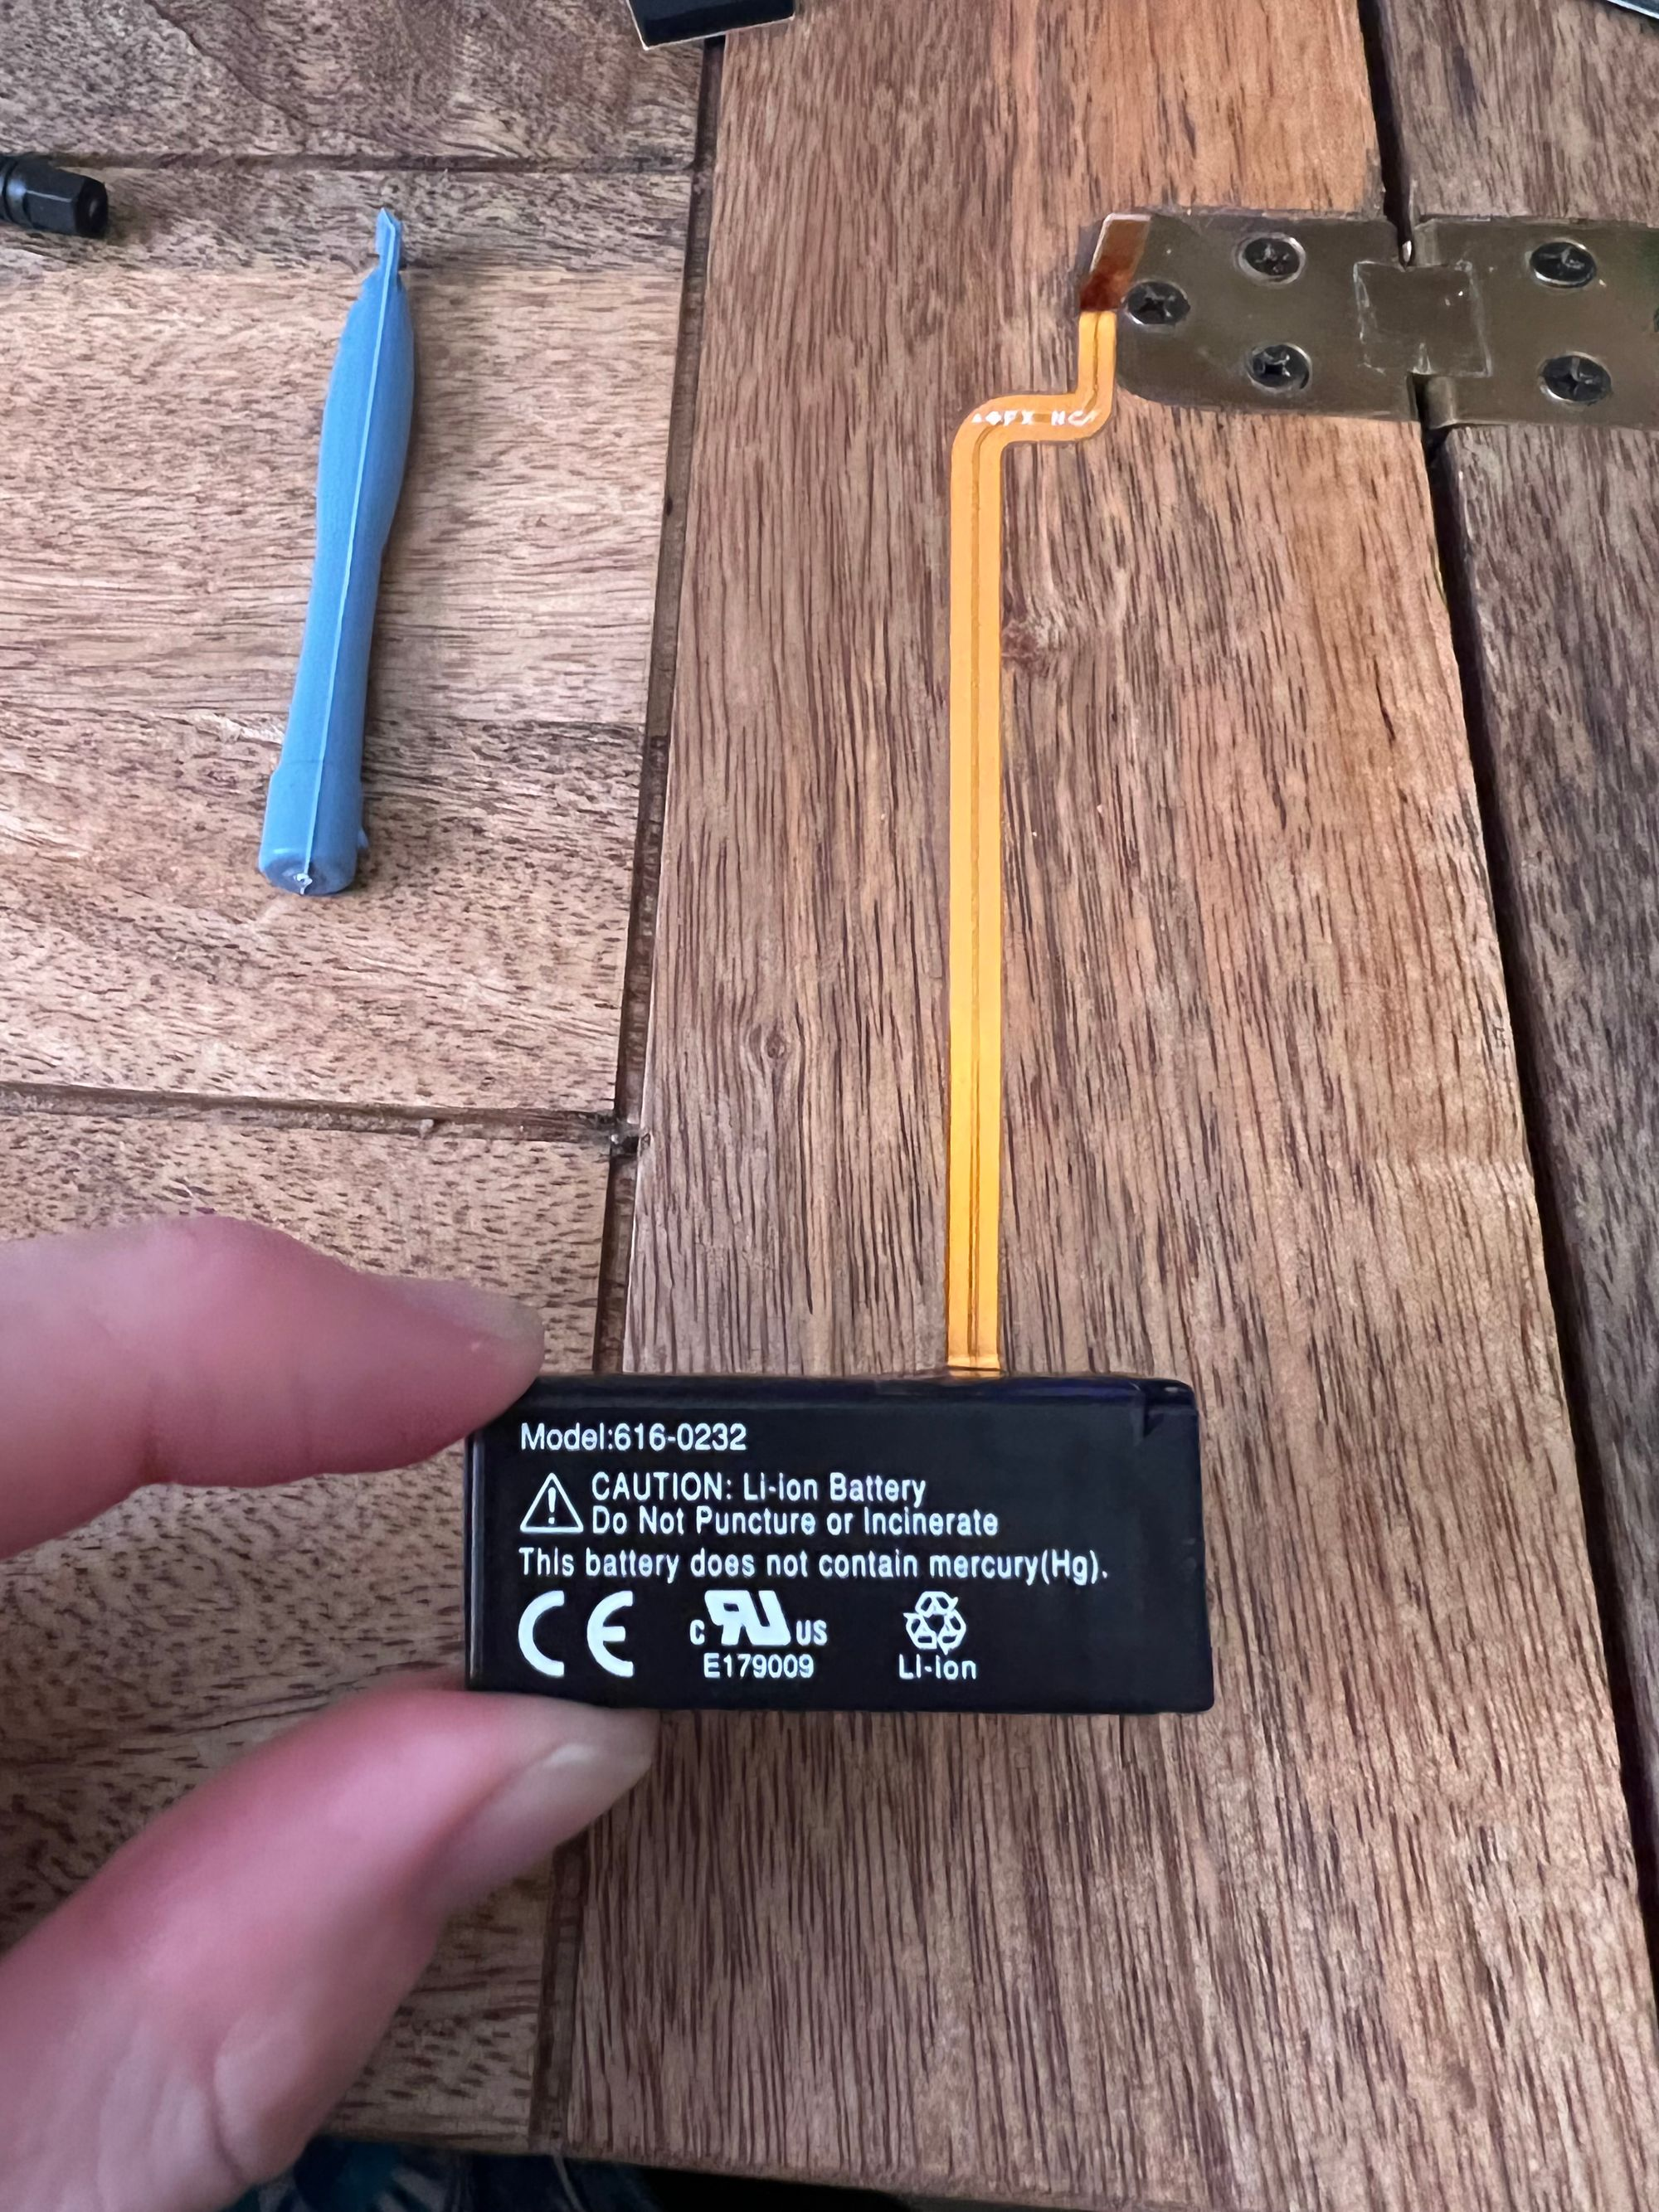
The battery is one of the first things you need to unplug, as otherwise you can’t fully open the iPod. Attemping to open without unplugging will result in broken cables!
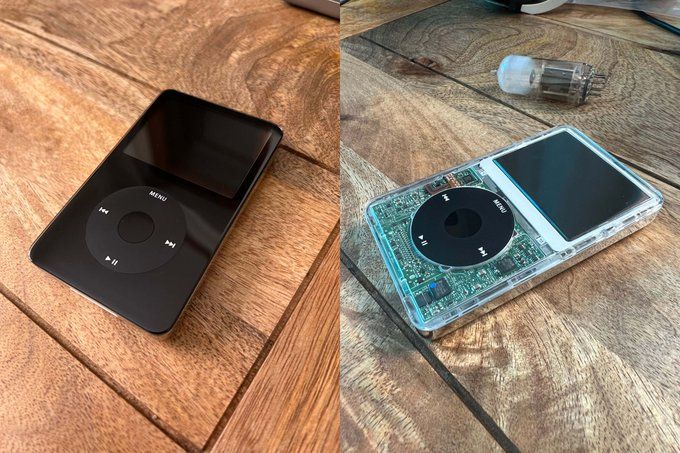
Front casing
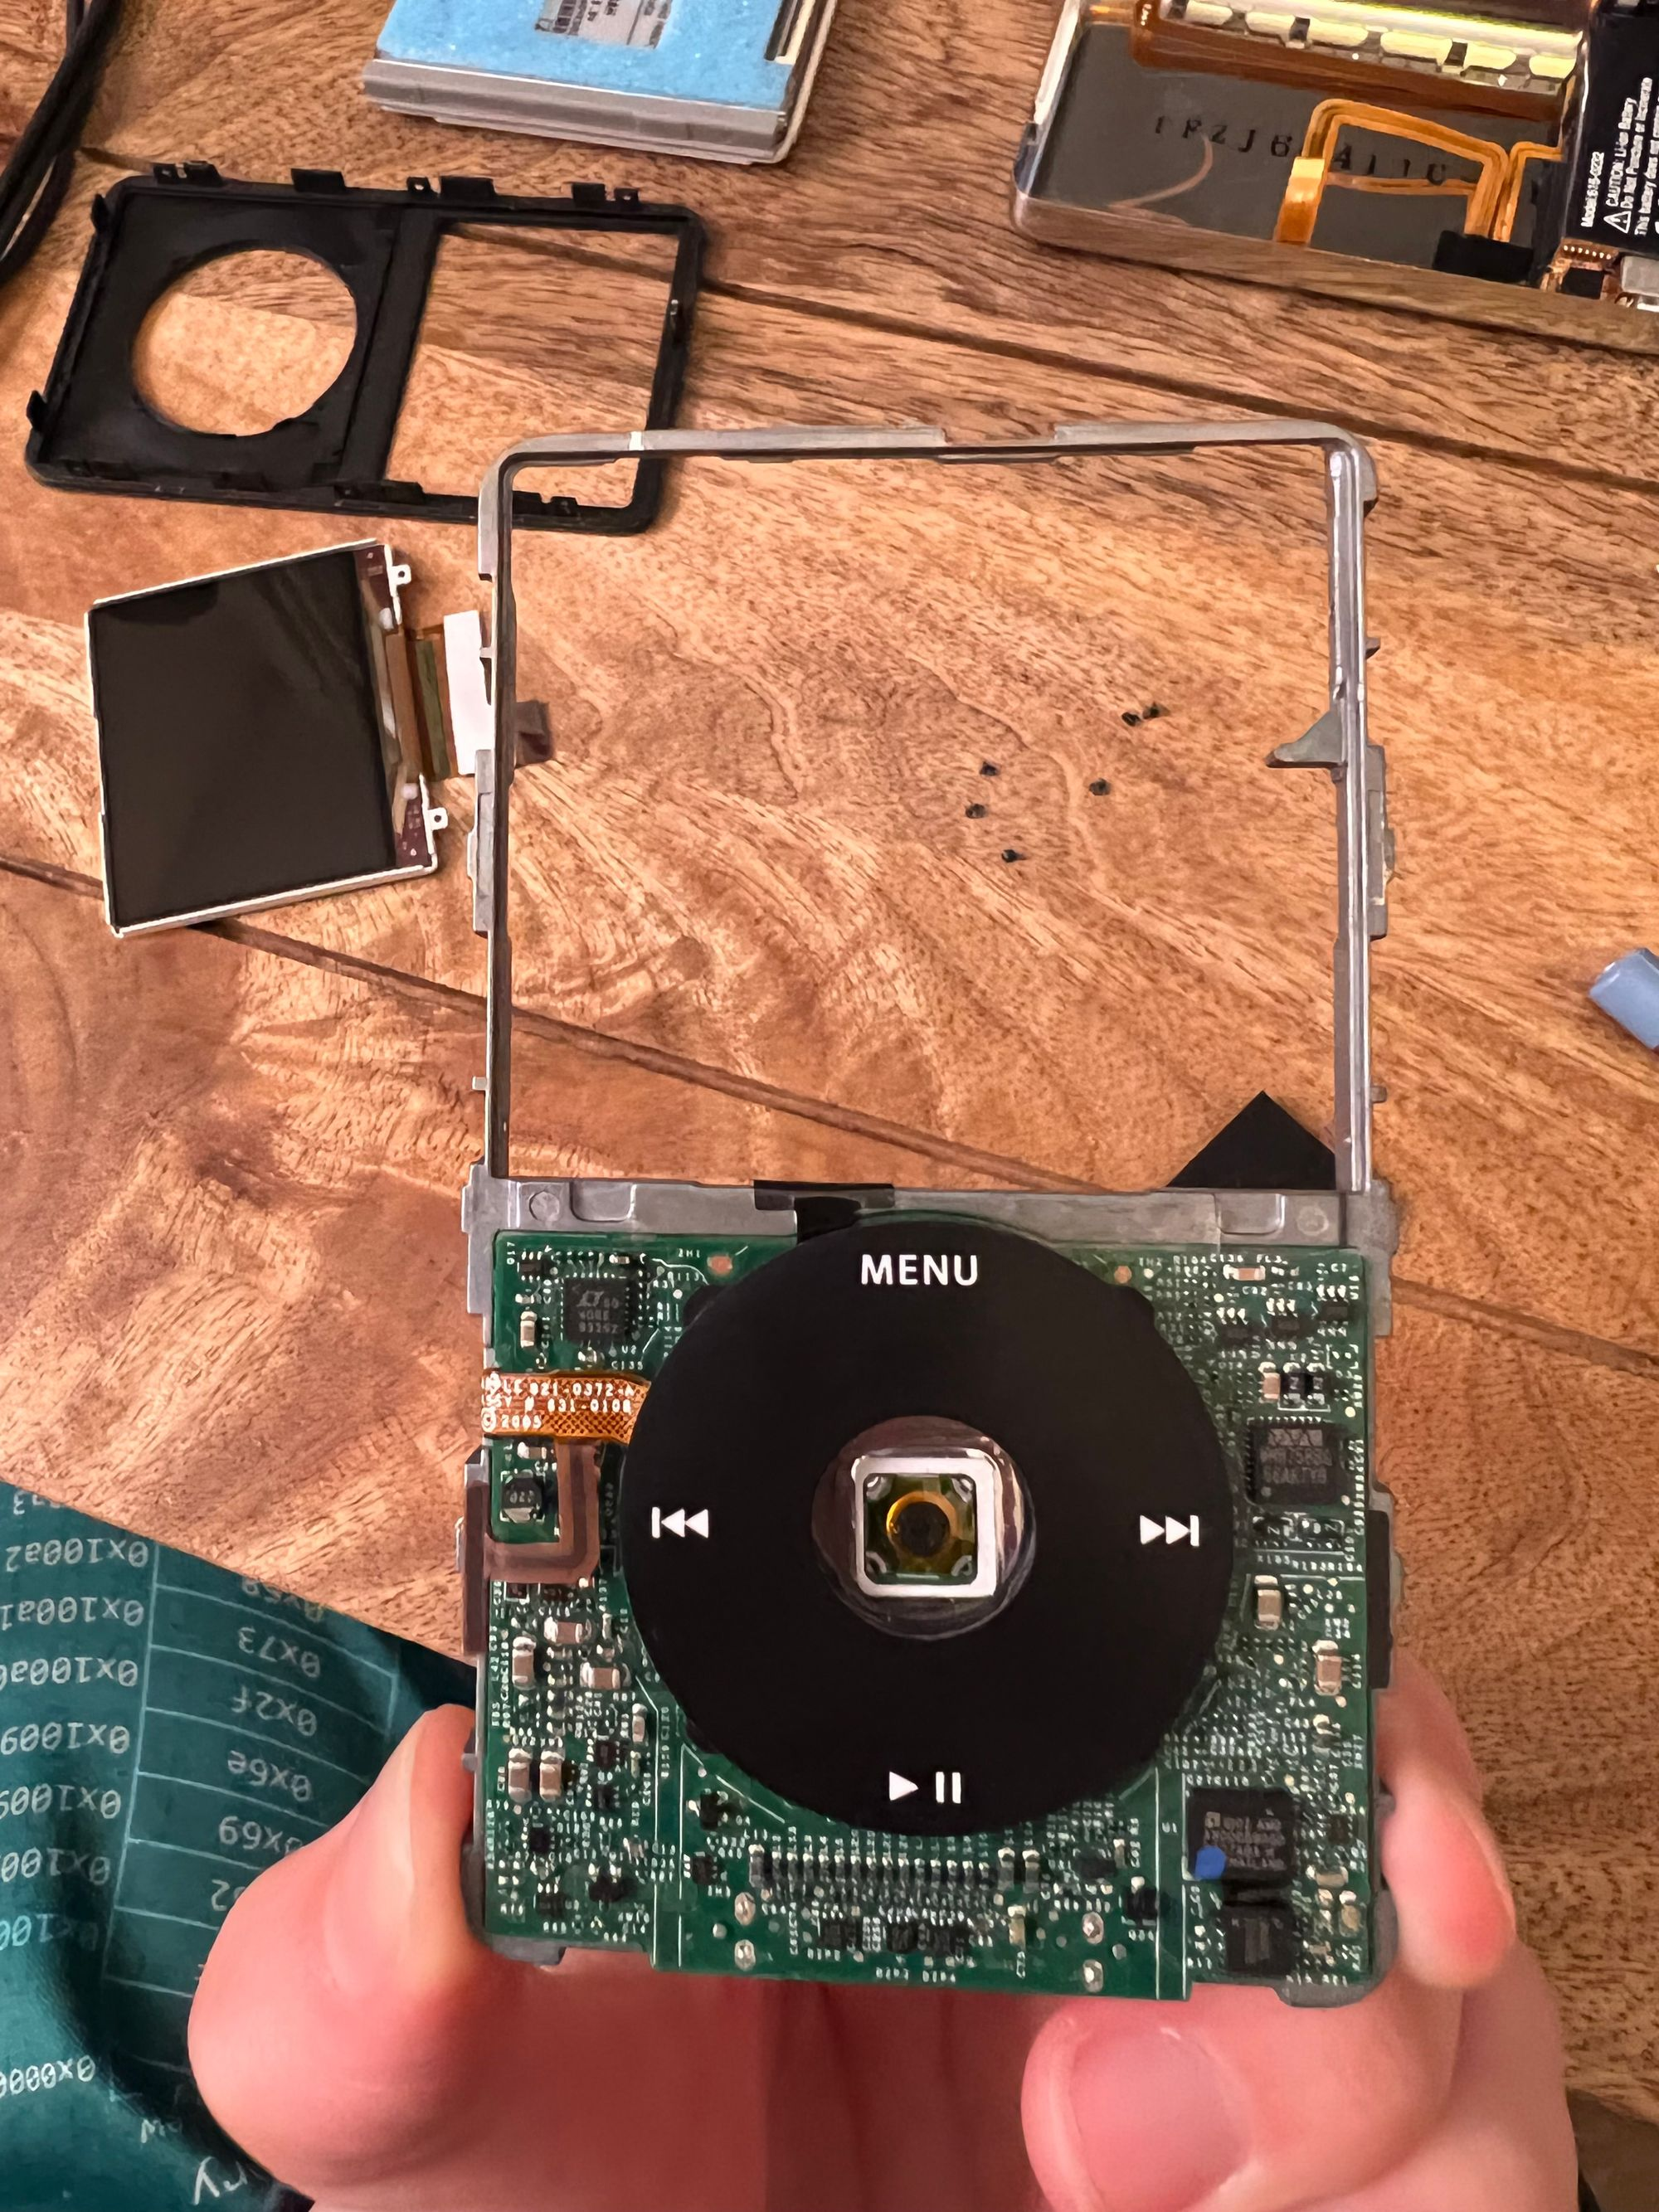
I bought a clear front casing for mine, as I like seeing the guts of my gadgets! Installing this was more fiddly than I expected. Once taken apart, there were six super tiny screws along the edge of the chassis that needed removing. From there, the front comes off - the iPod scroll wheel is actually just resting in place. So if you’re not careful, it kinda flops about! As does the display
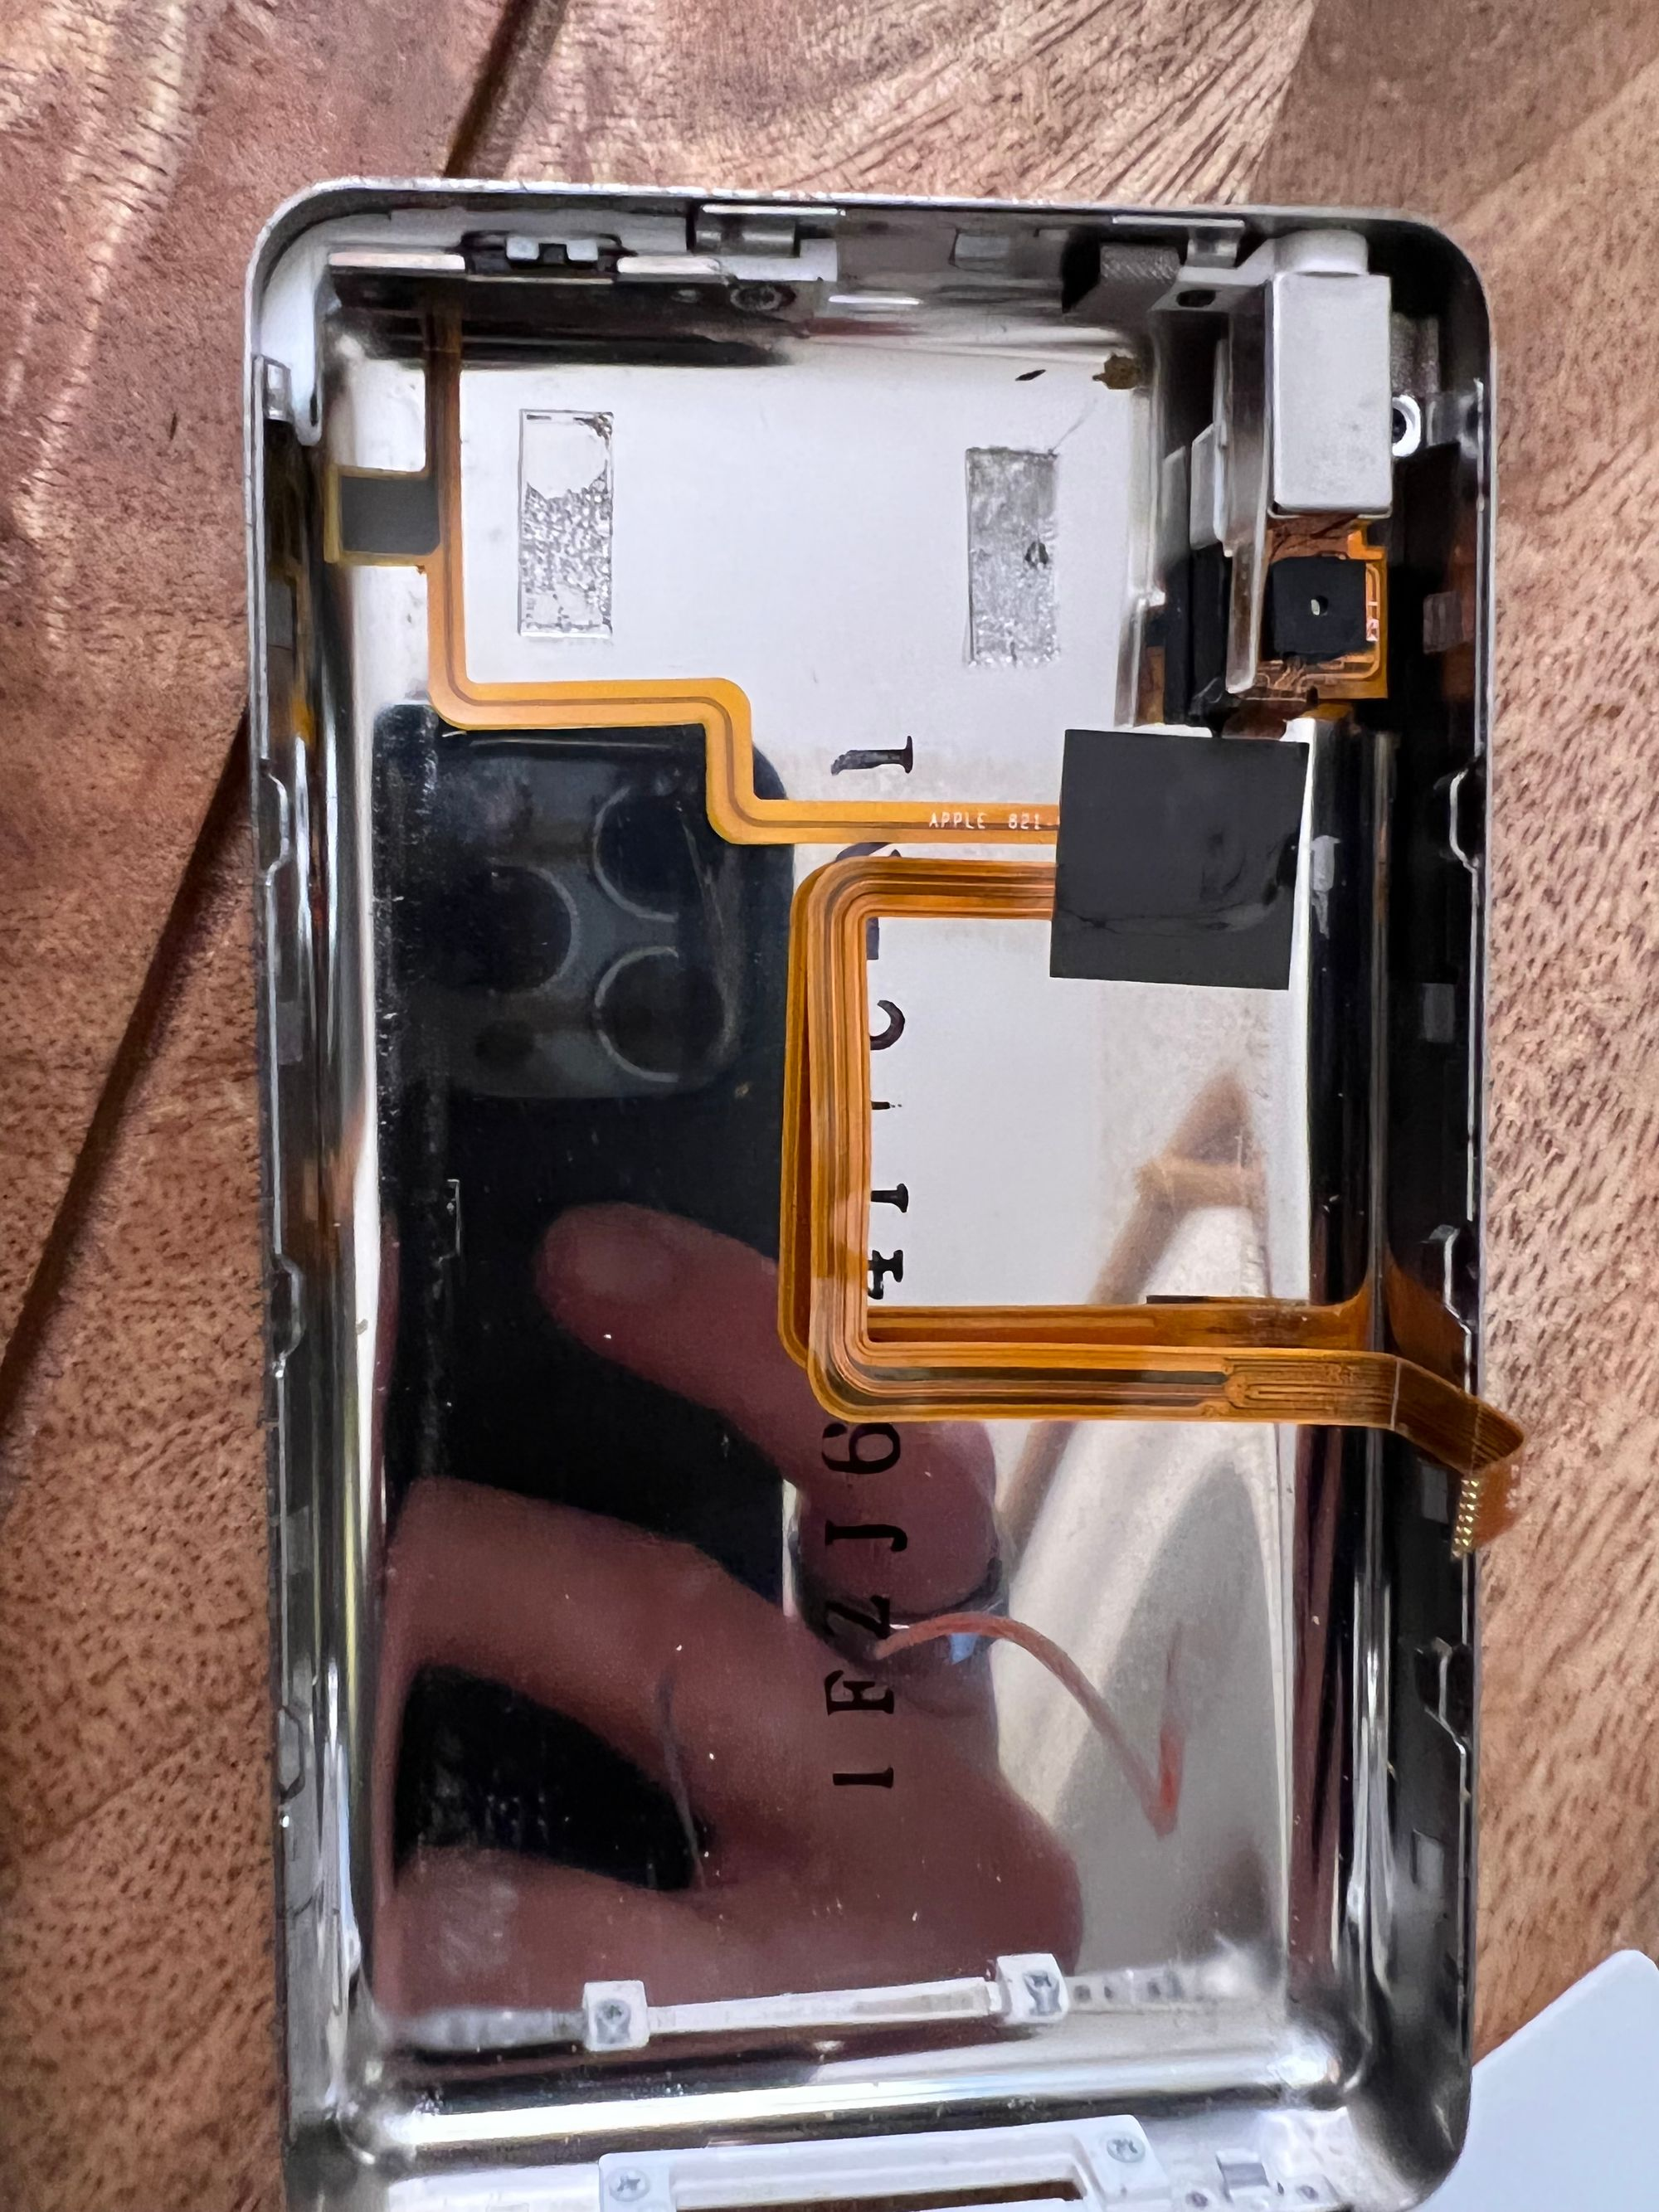
Rear casing
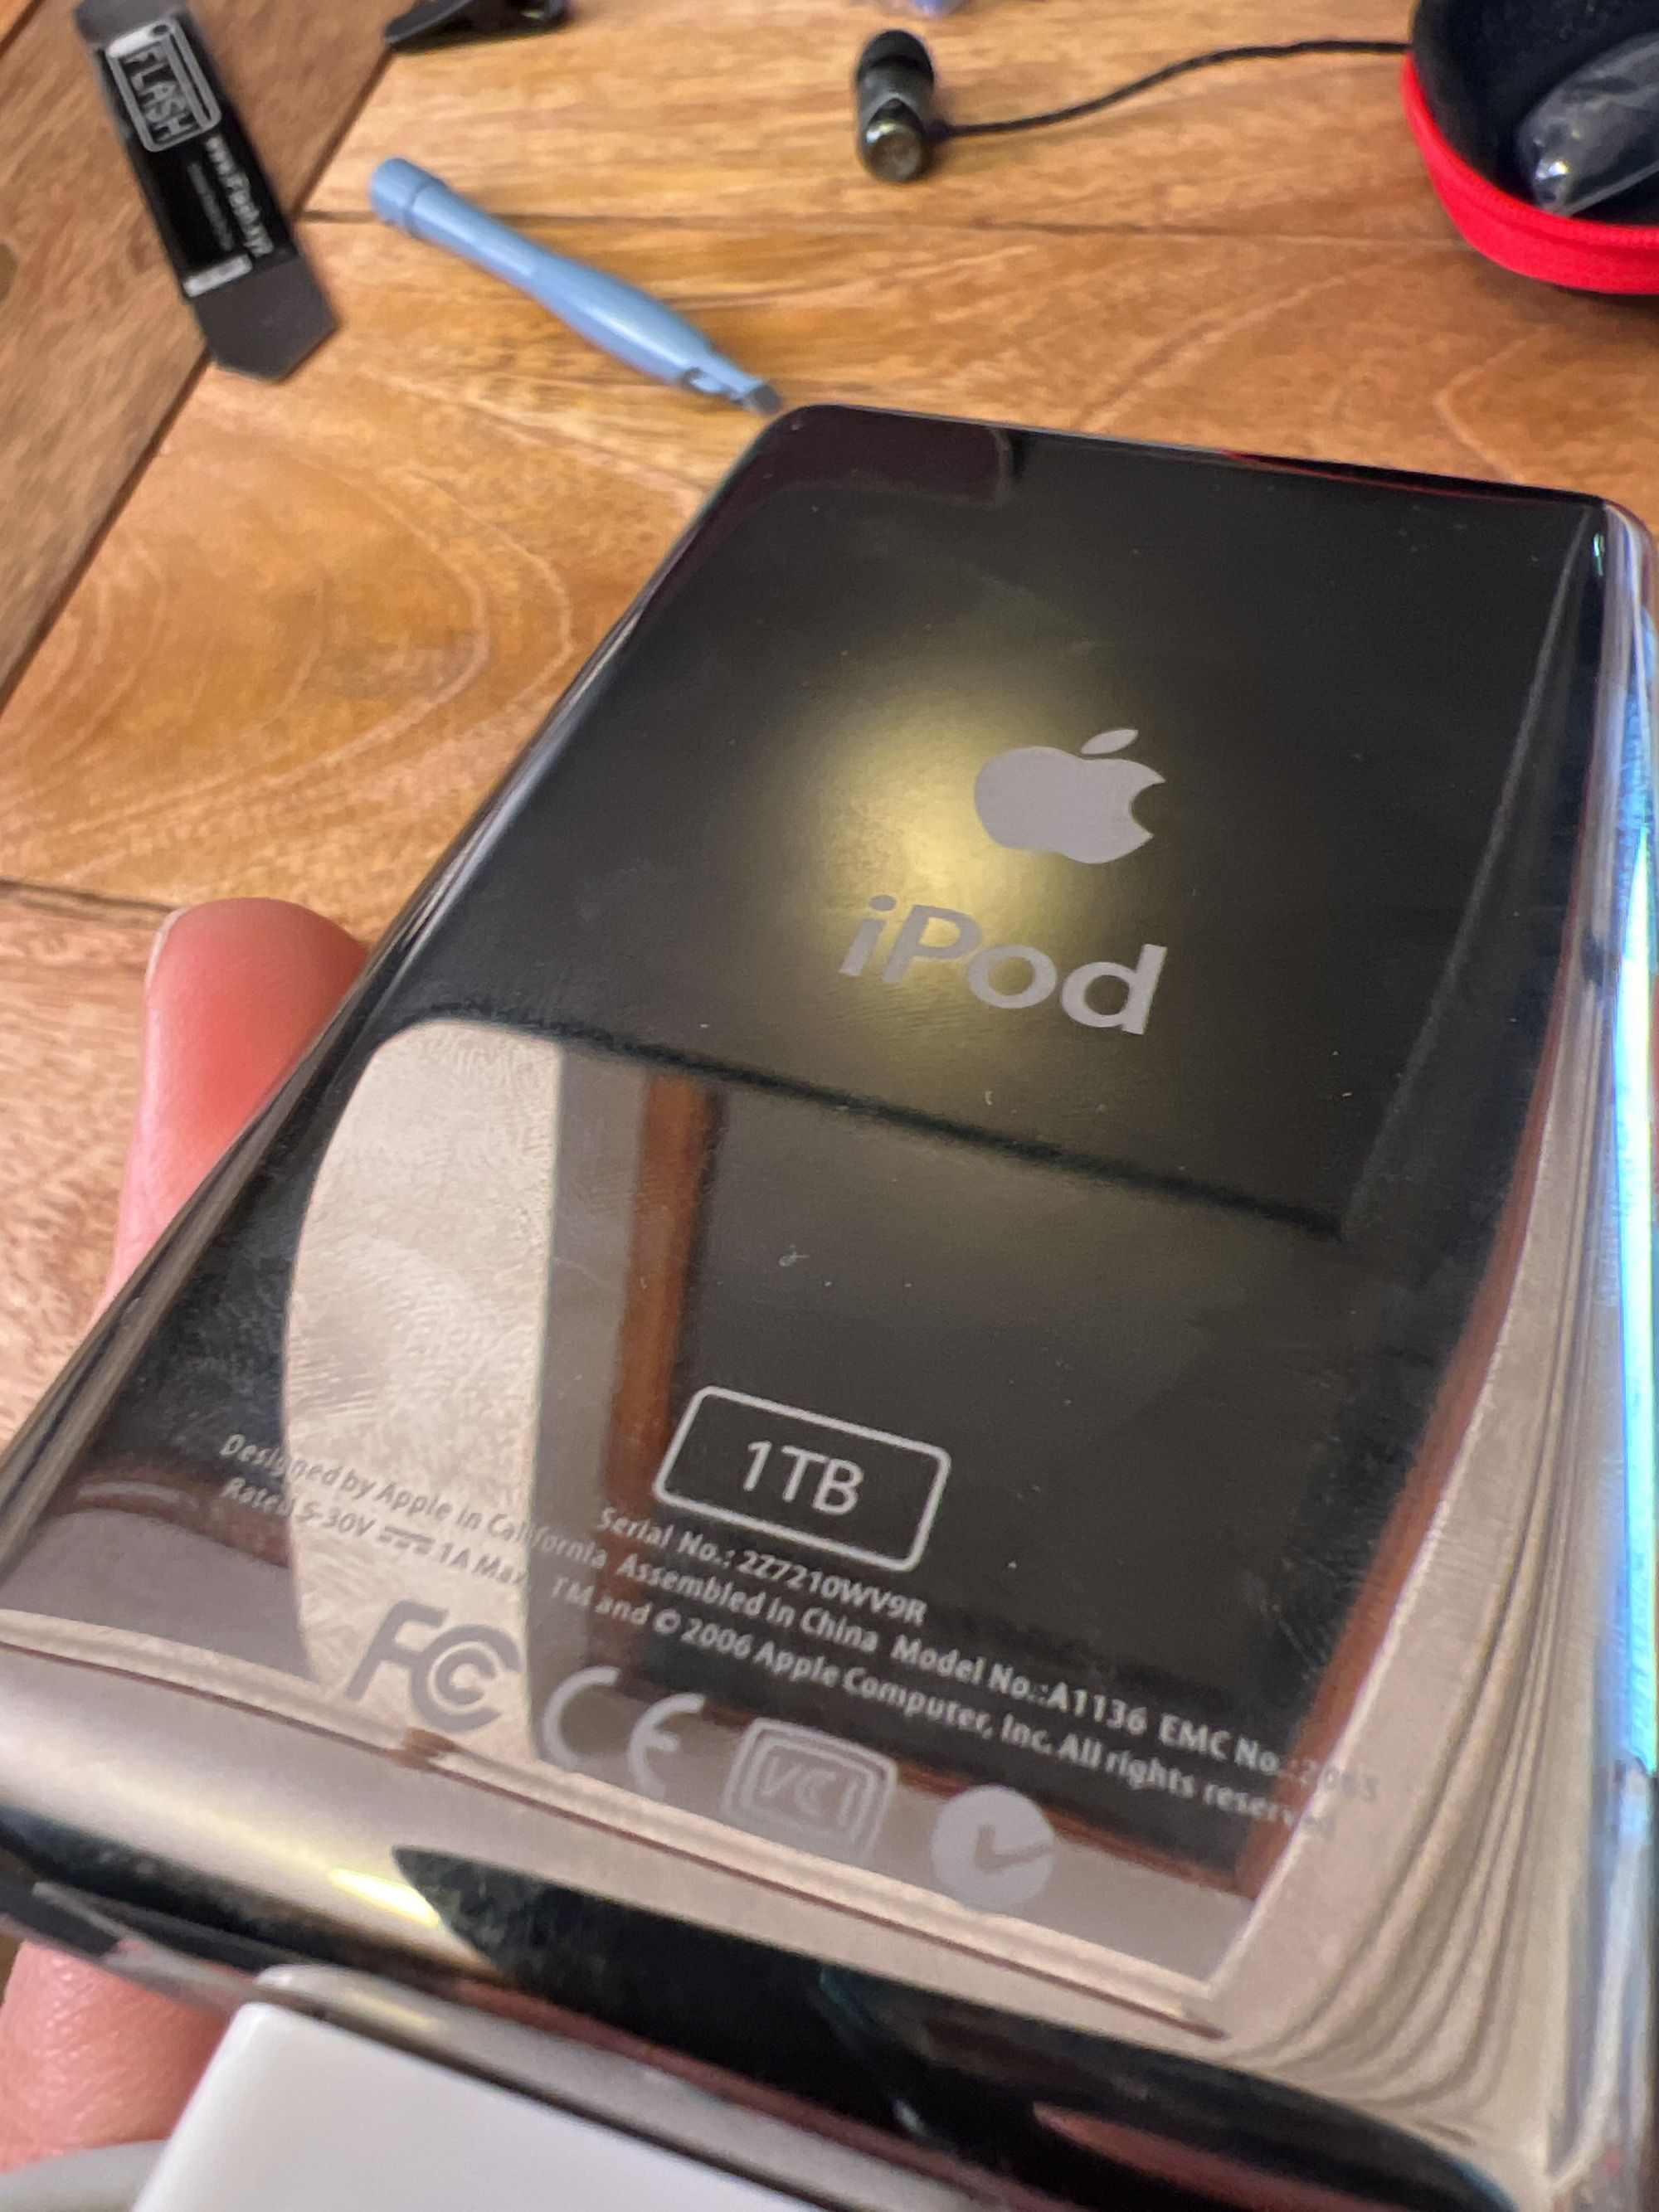
A small detail I wanted to change was the capacity written on the back. After all, it’s not 80GB any more. Also found on eBay, I bought a new rear casing
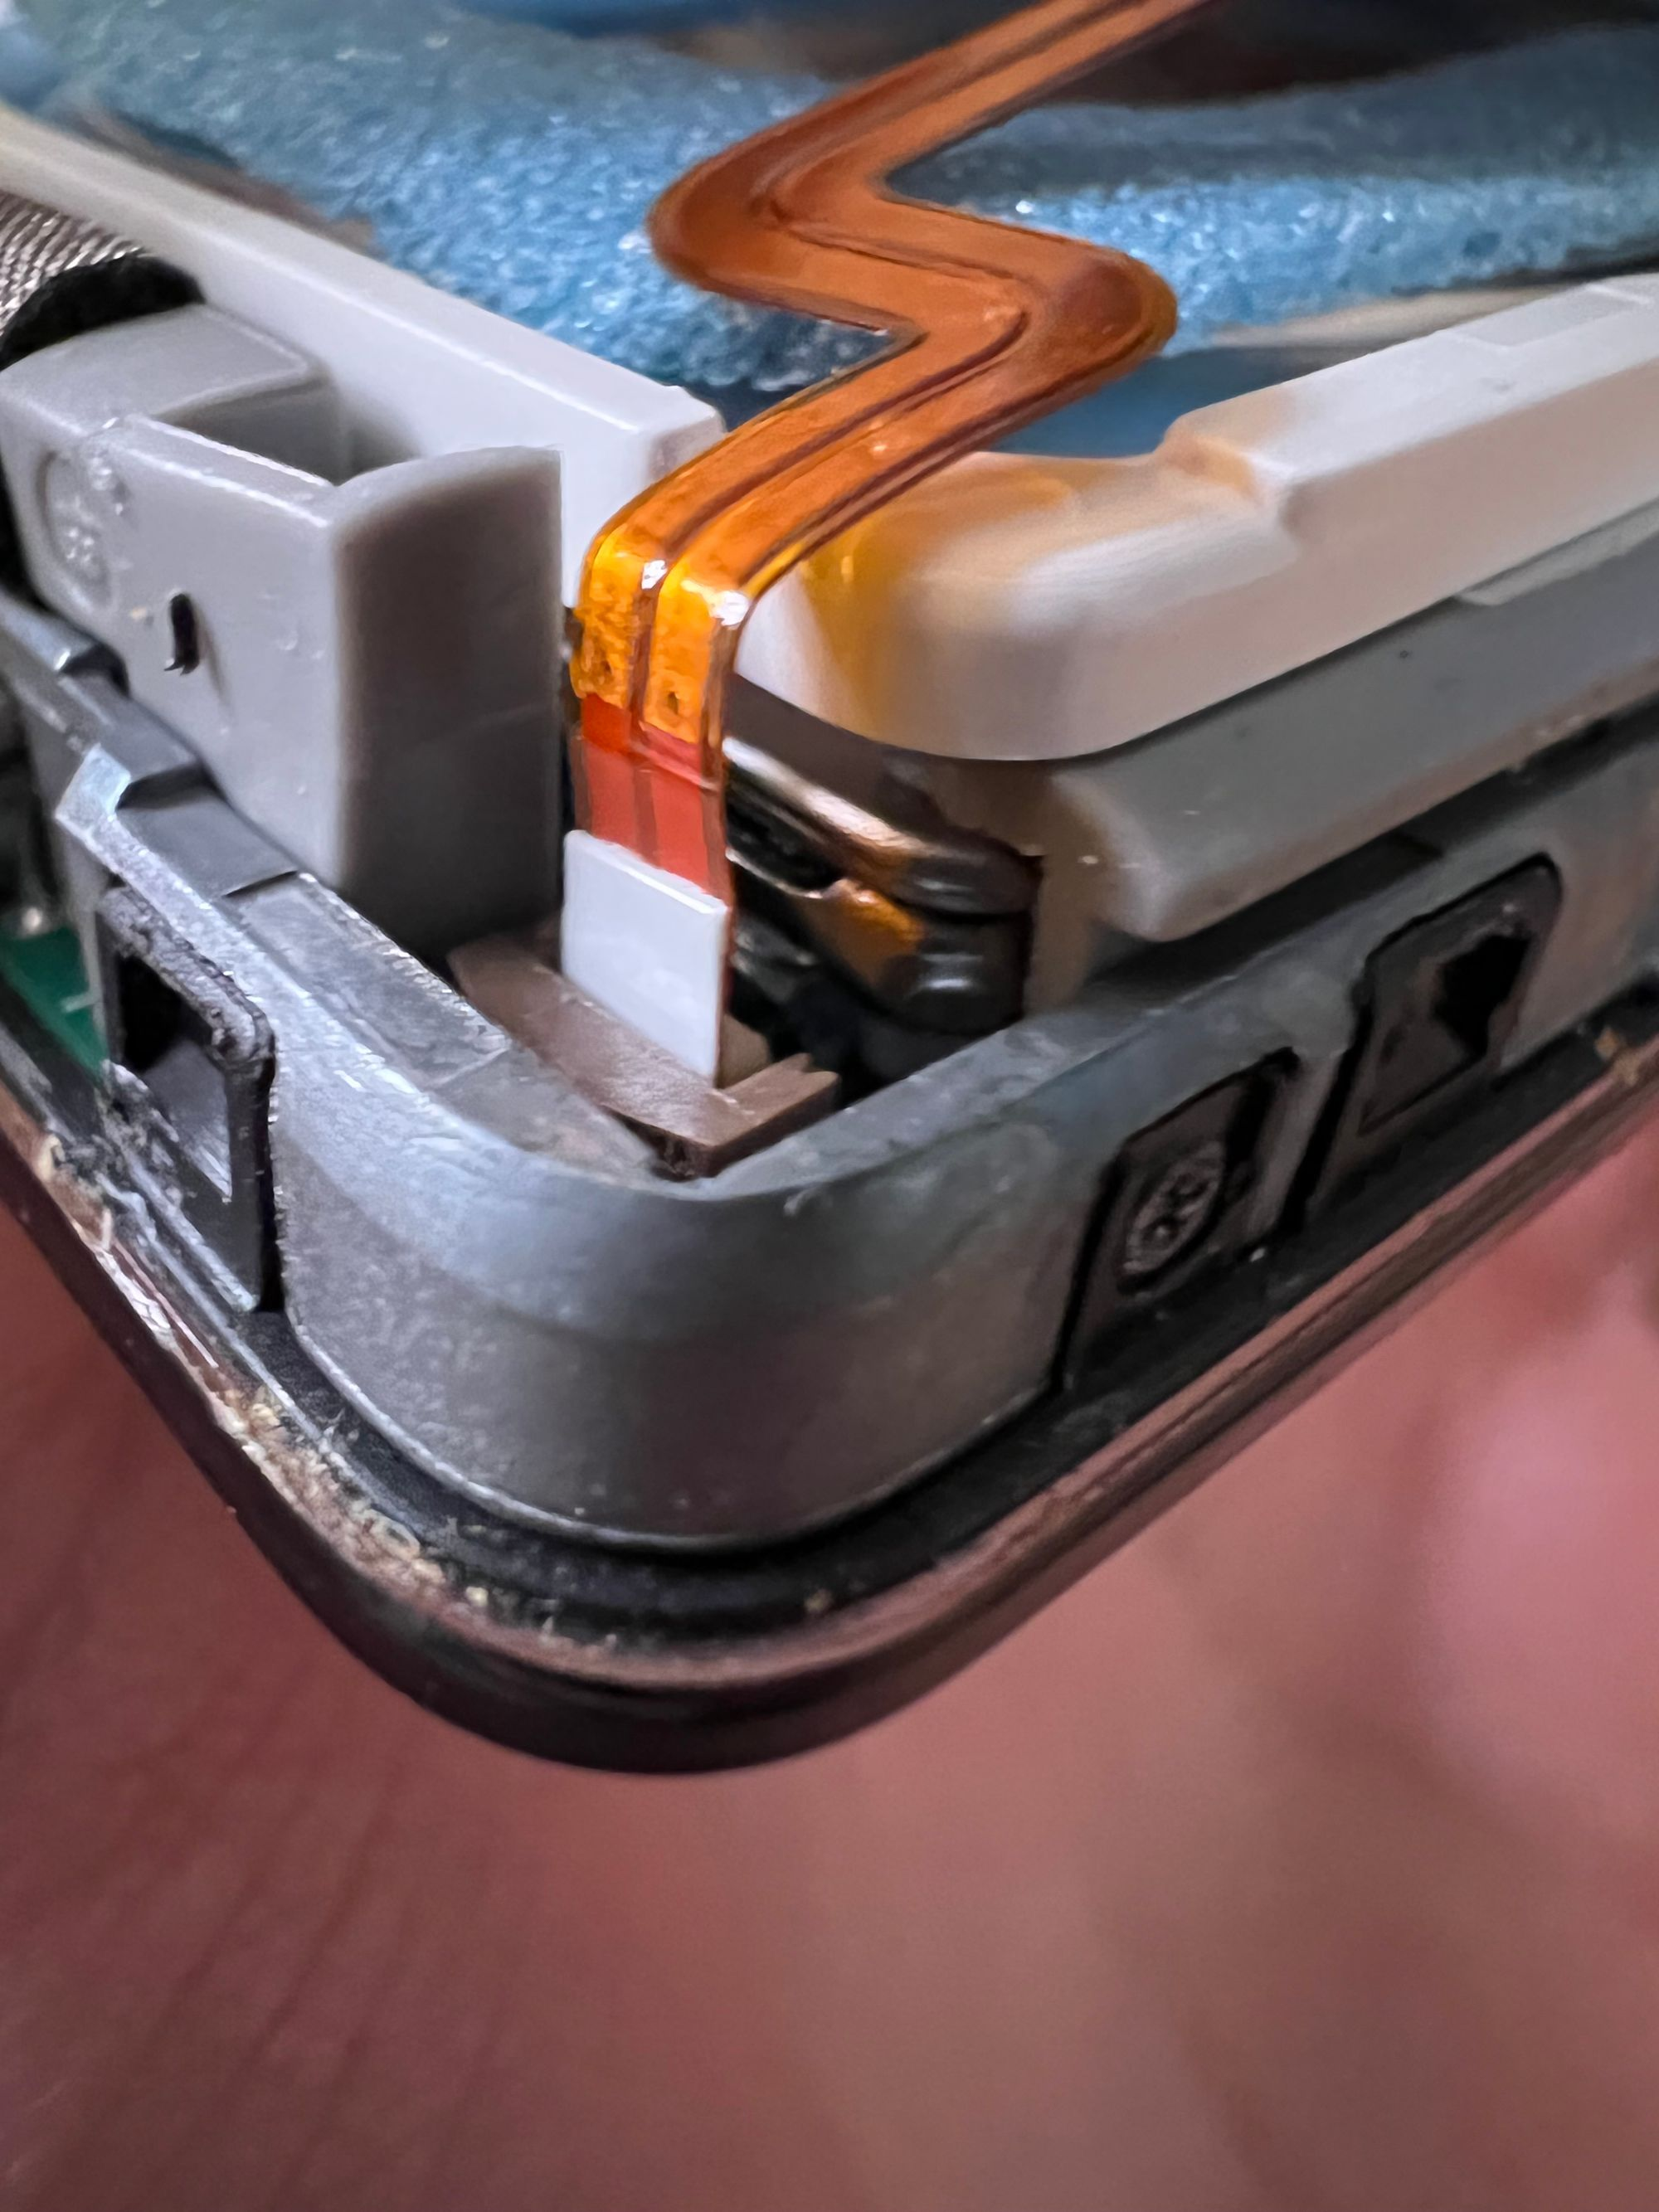
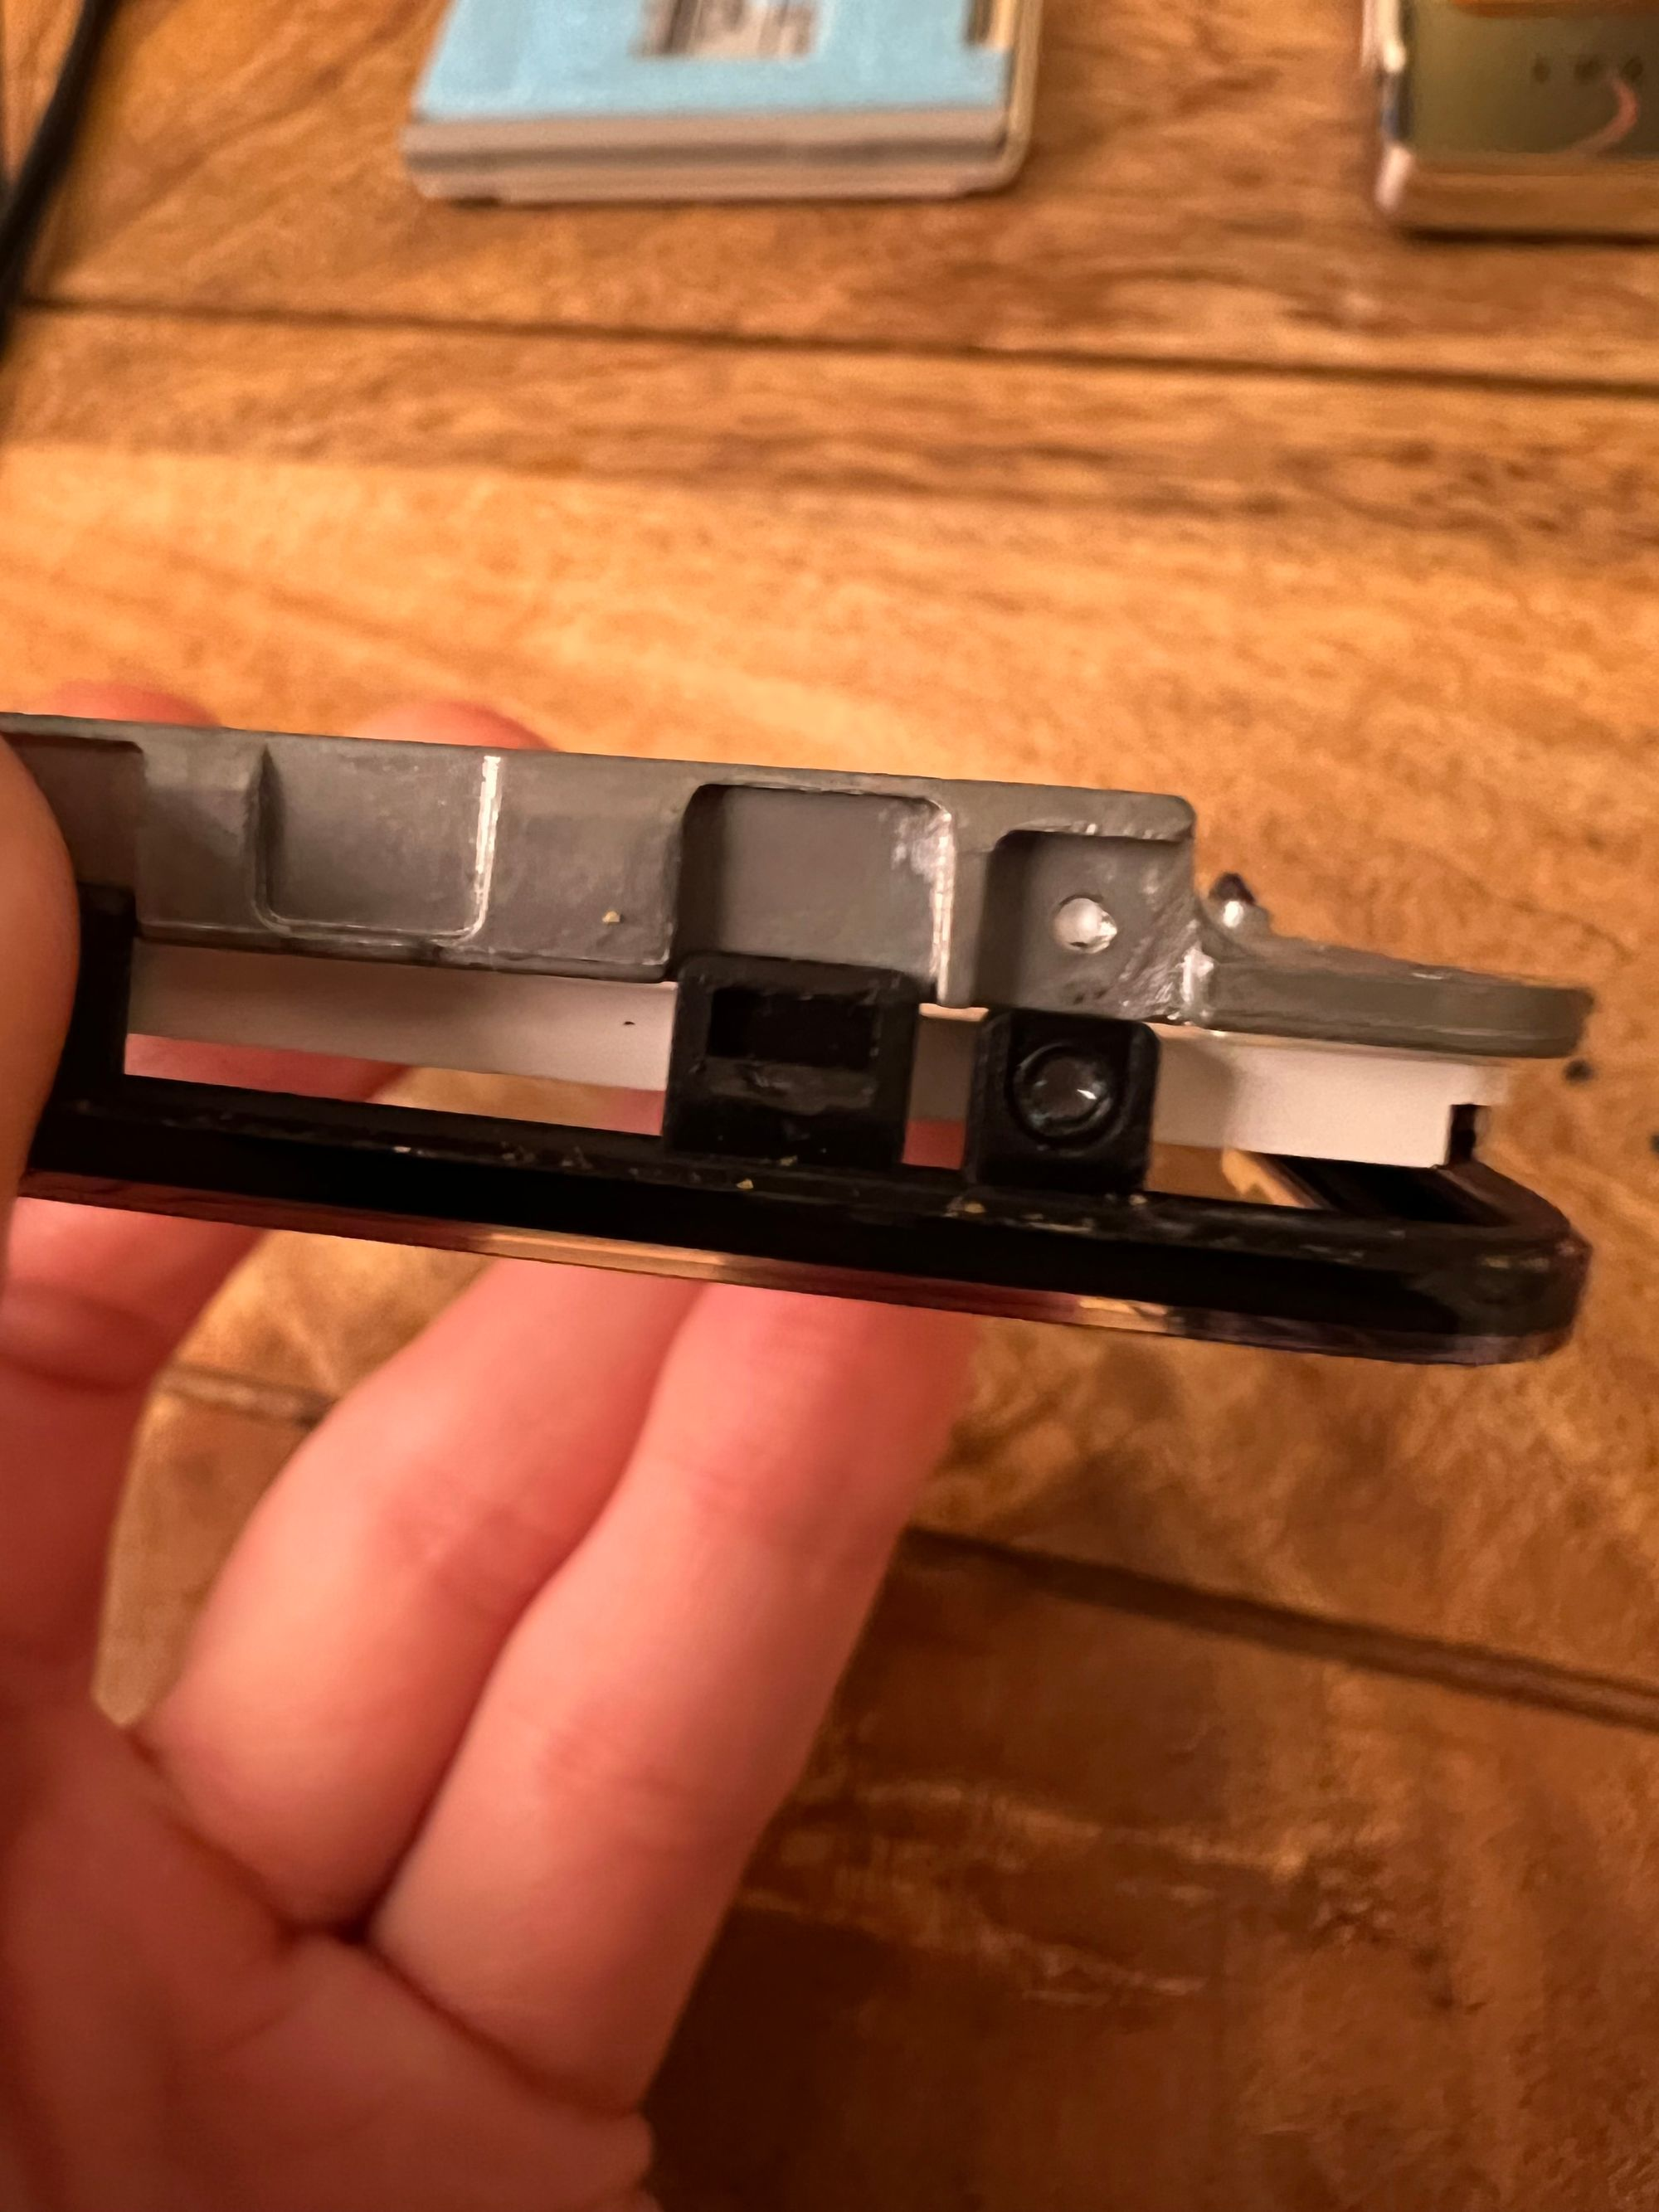
The issue with this is that the headphone jack and hold switch also needed transferring across. This wasn’t too difficult in the end, though a little fiddly + I had to be very careful with the cables as they are fragile
Moment of truth
After I’d put everything back together, I was worried it’d not boot. Or that it would boot, but input/sound wouldn’t work.
Switching it on resulted in this screen:
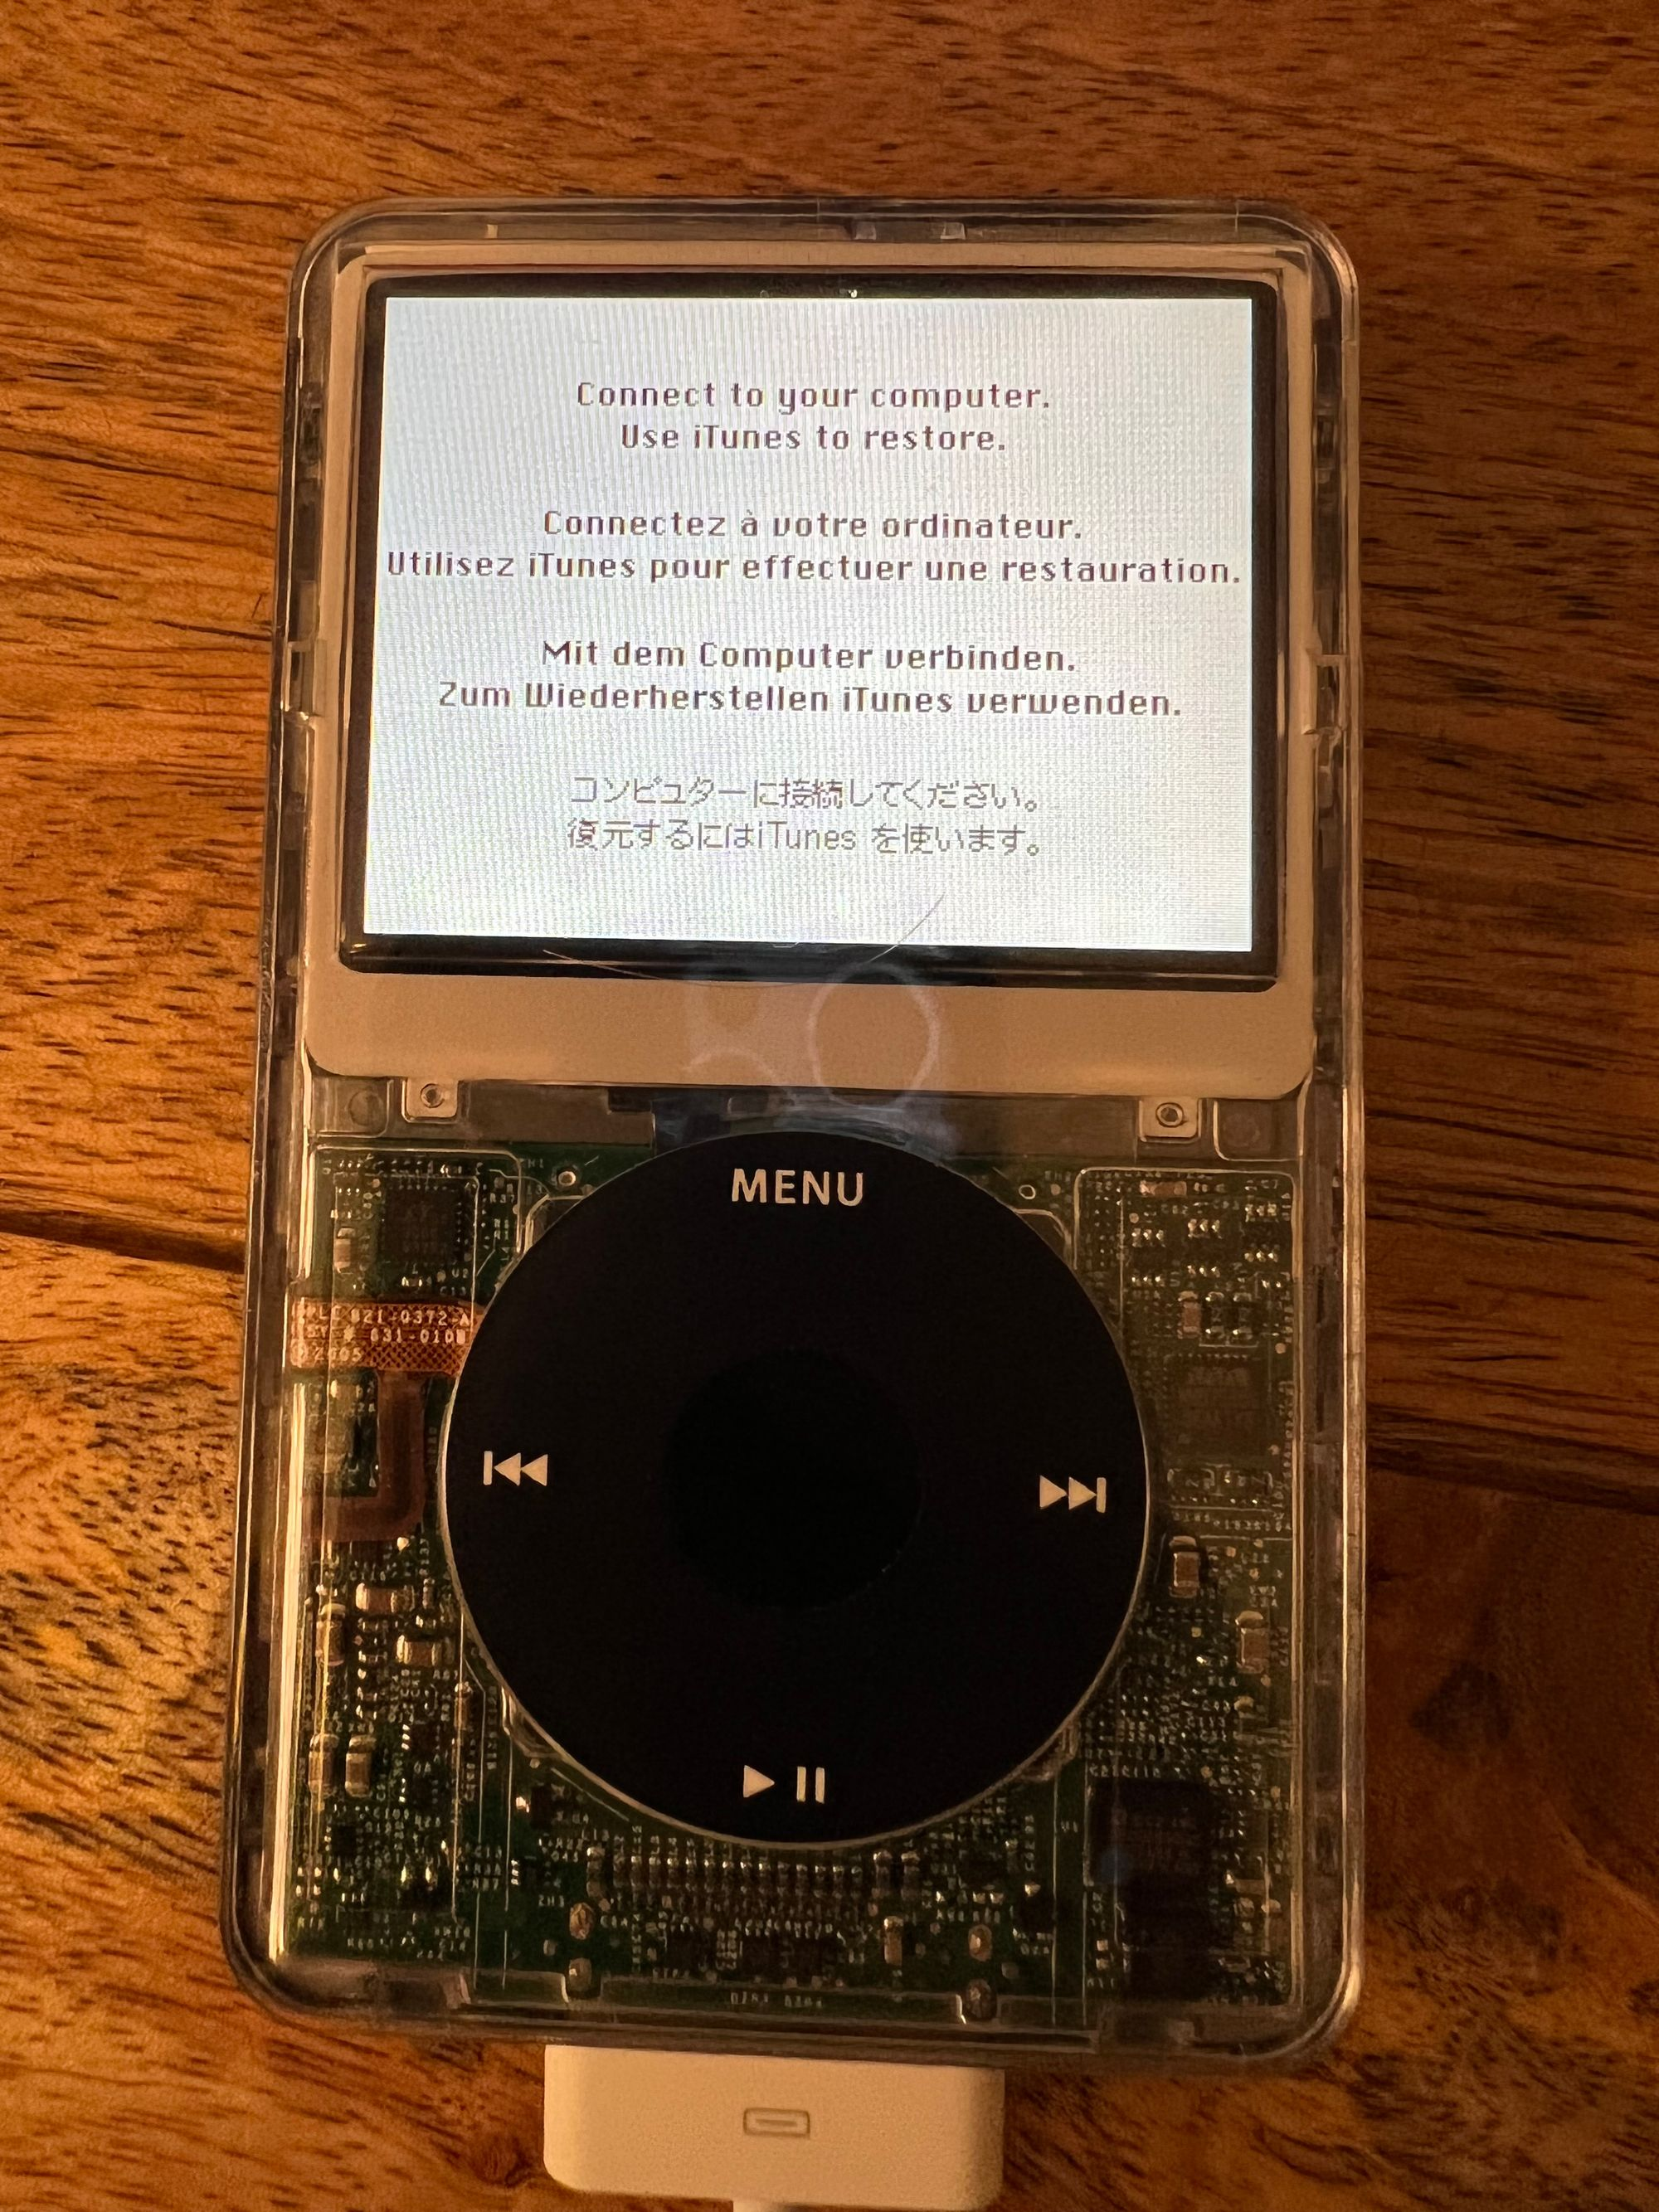
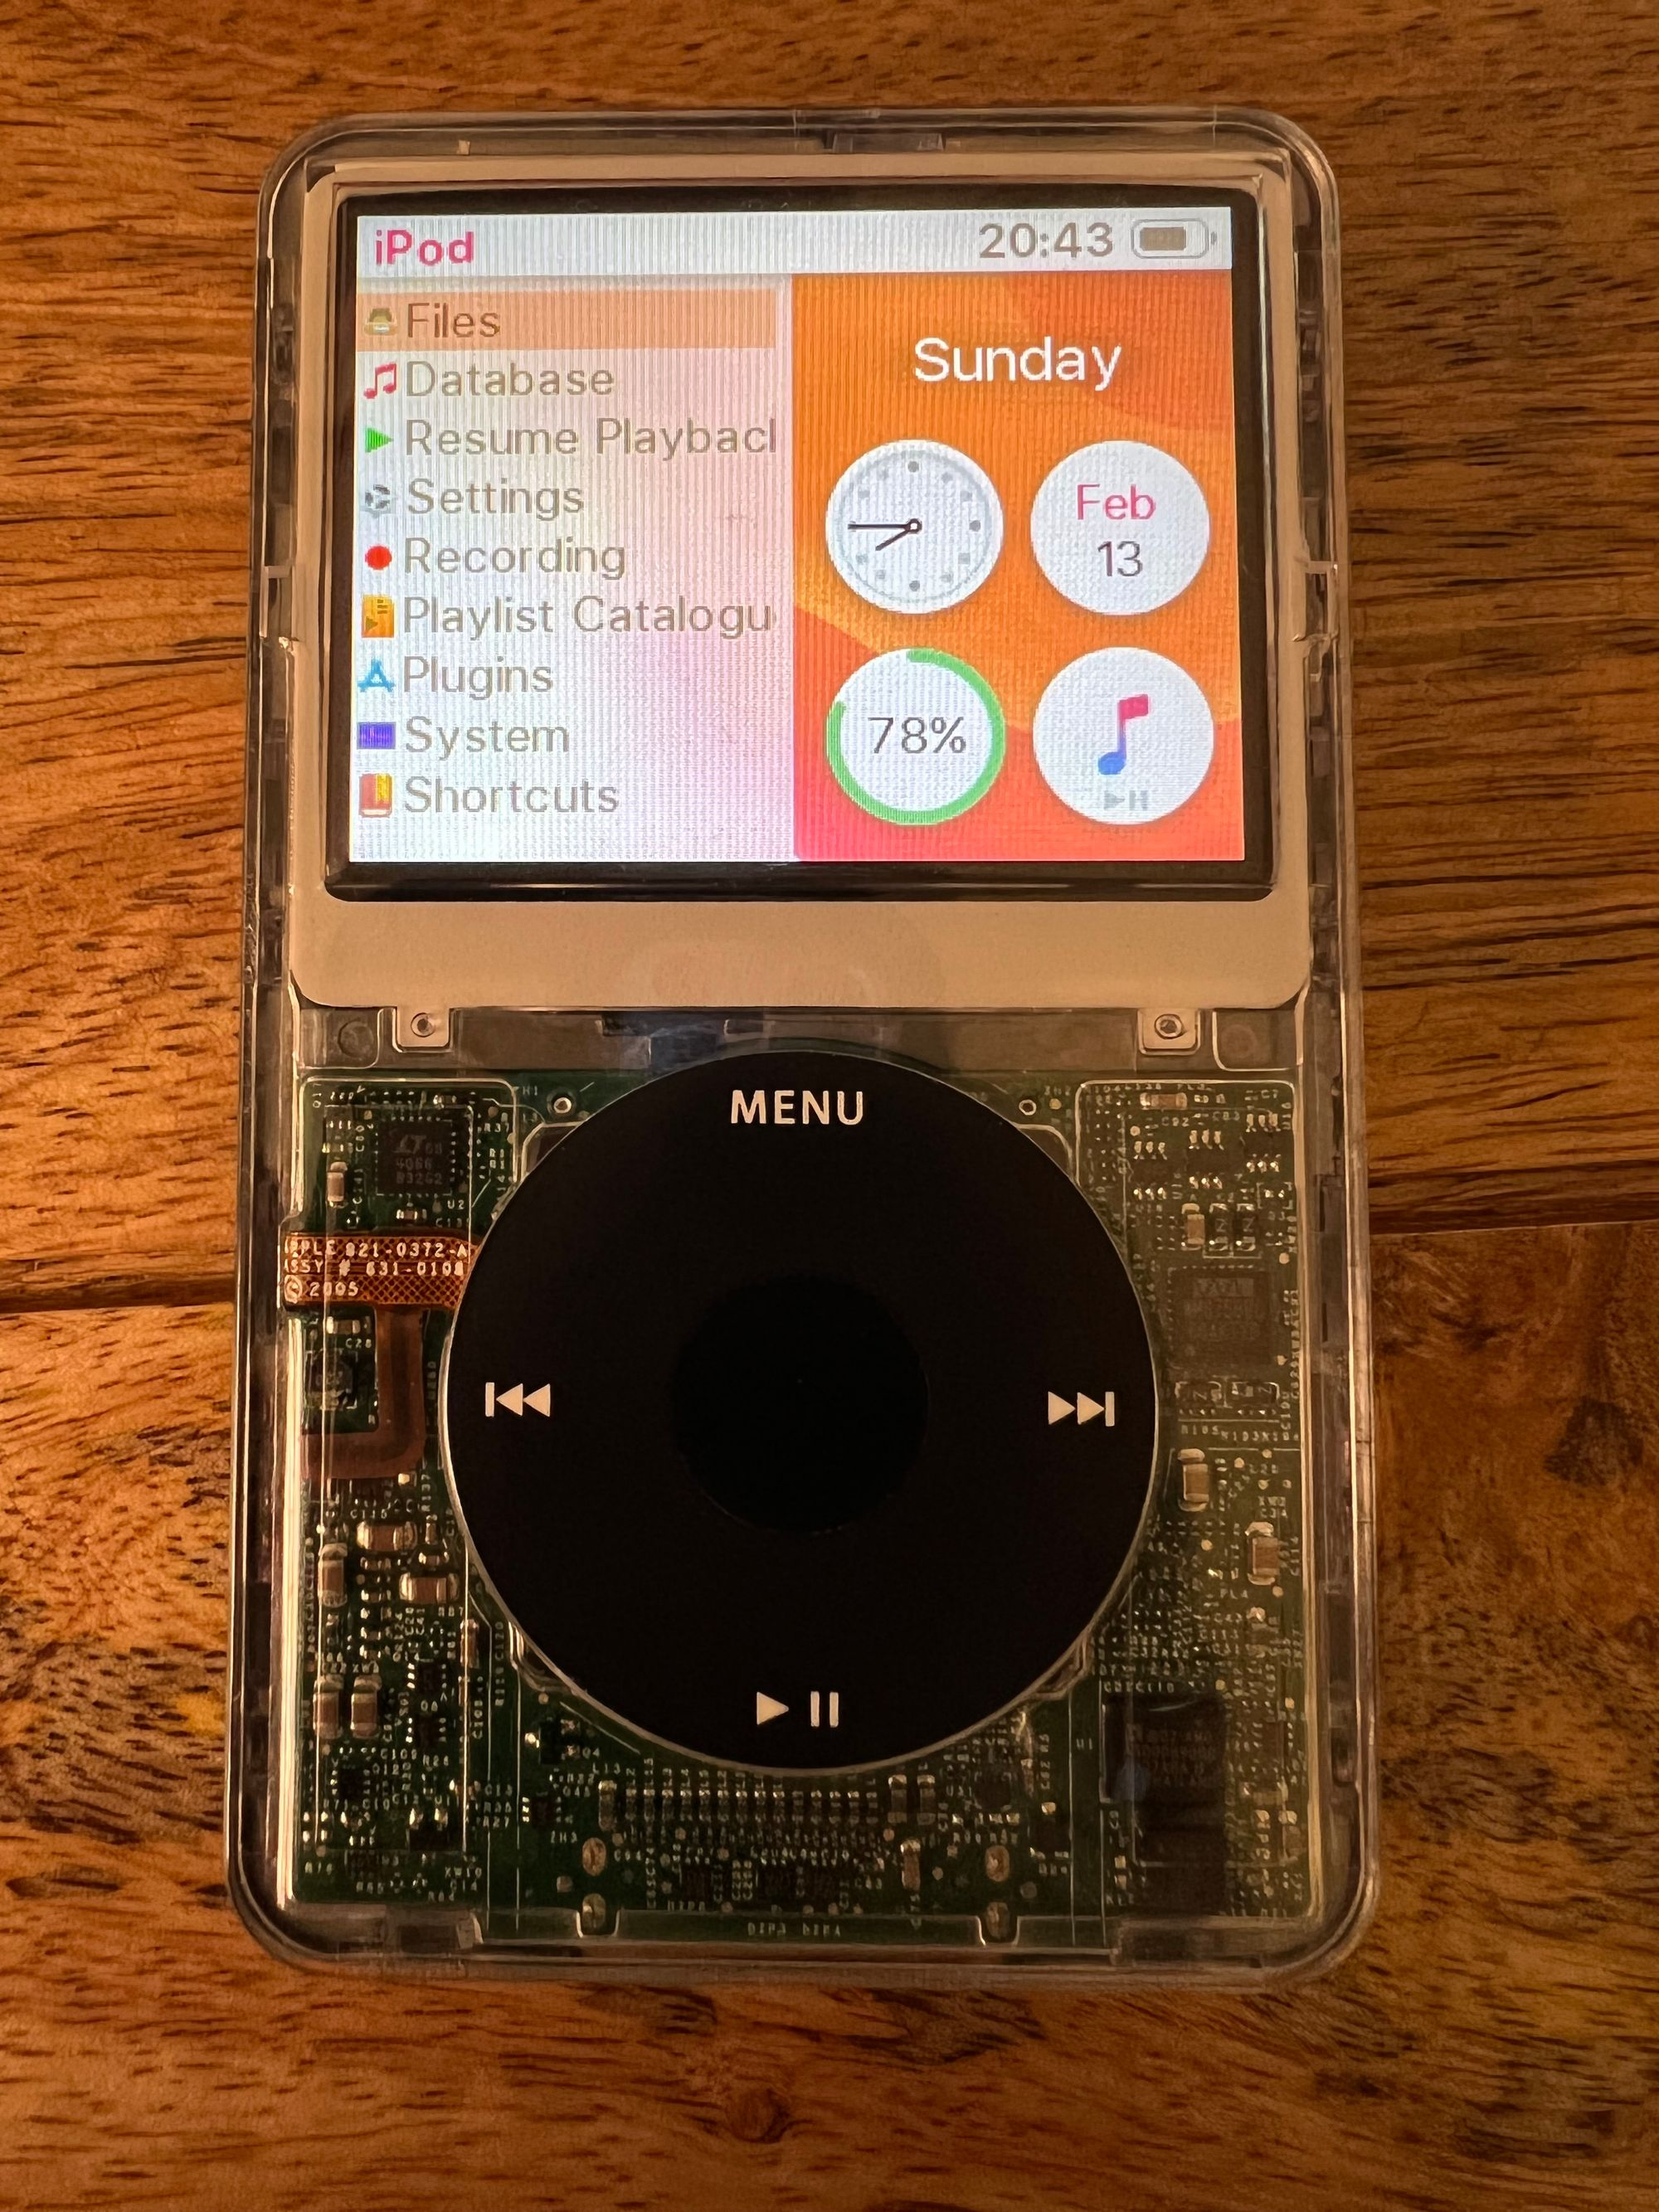
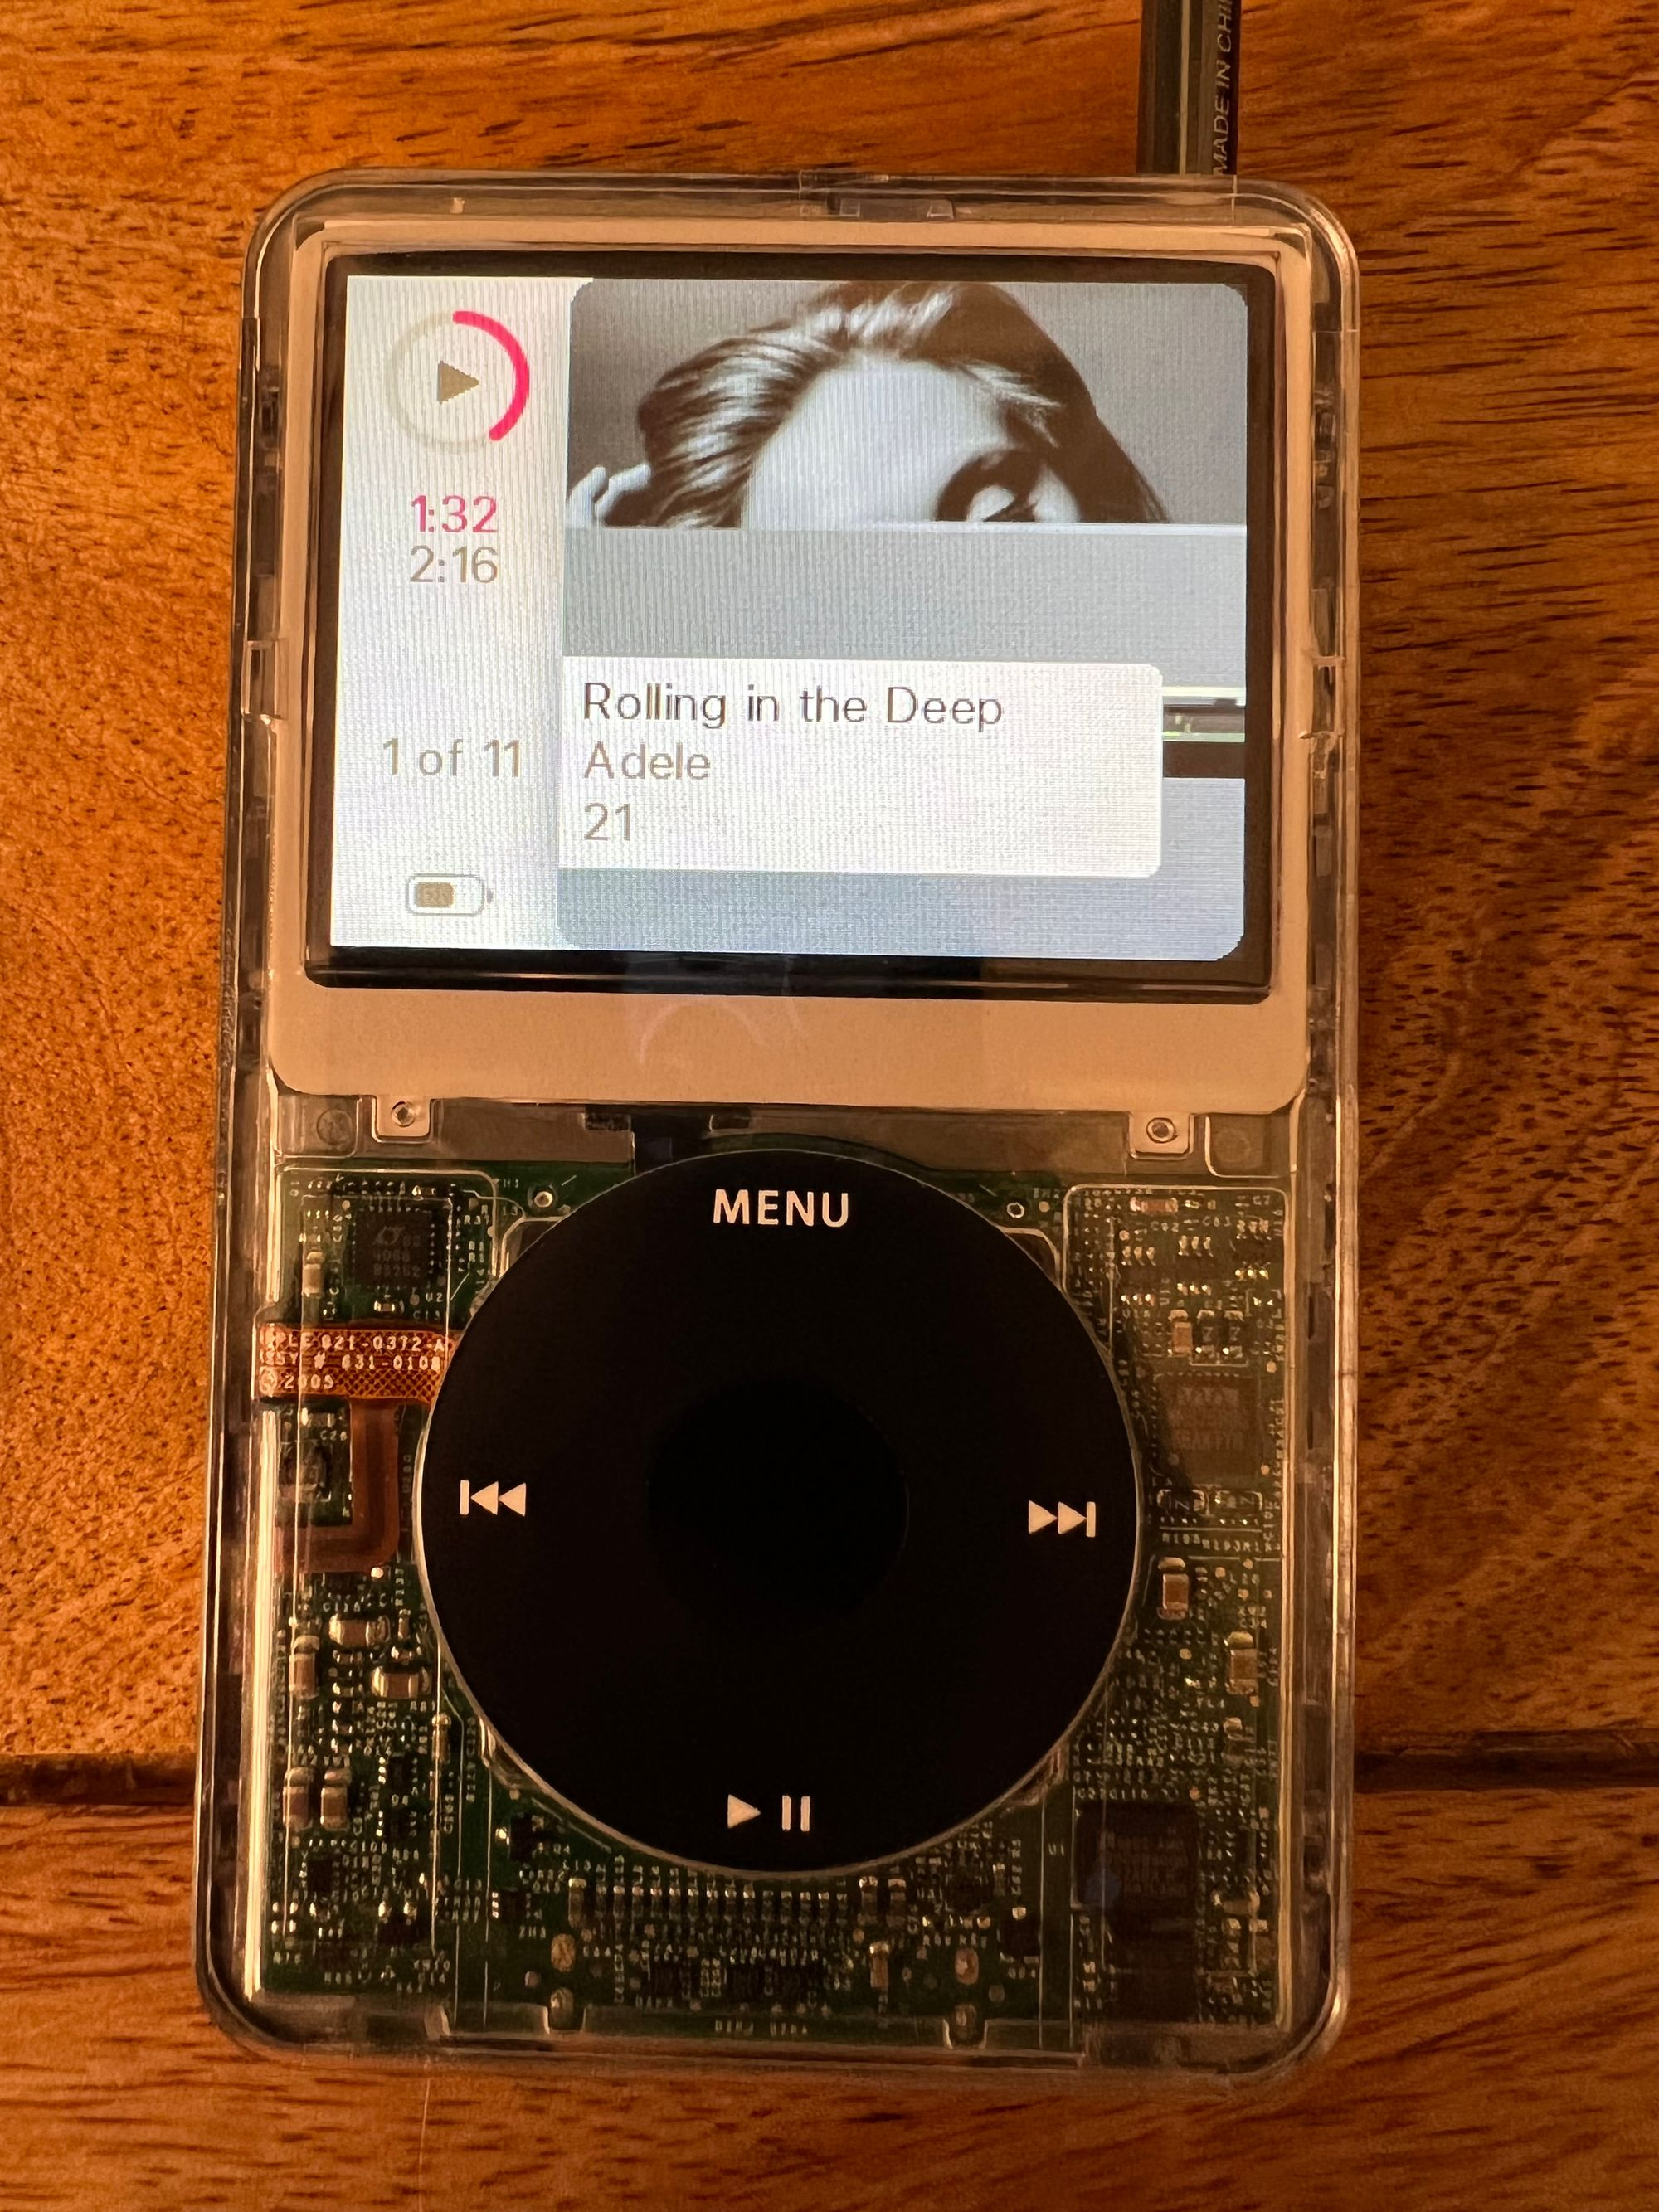
So, I restored it on iTunes, and it worked! I followed up by installing Rockbox, and then the theme called ”FreshOS” which gives it a nice clean look (in my opinion). Rockbox has a nice installer which makes this super easy.
In addition, I no longer need to use iTunes! The iPod mounts as external storage, and the files can just be copied across. Easy.
Rockbox also means I can play doom, or control my Macbooks volume from the iPod (you know, a very useful thing to do…)
Anyway, if you have any questions please do feel free to get in touch on Twitter!